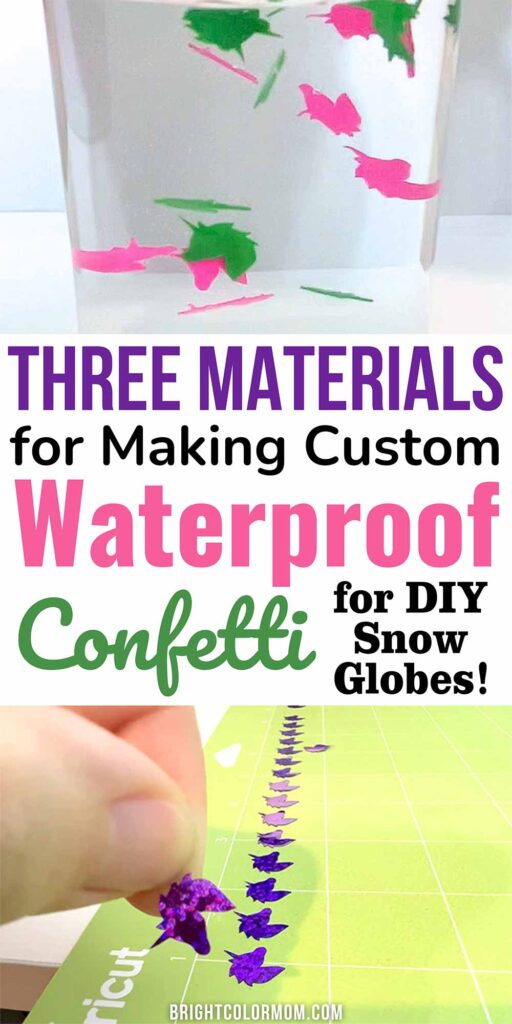
As much as I hate cleaning up confetti, I LOVE using it to decorate. But the best kind of confetti is the kind in a DIY snow globe, because it’s beautiful forever! You might be wondering how to DIY confetti, or what material to make waterproof confetti from. Because wouldn’t it be cool to have confetti in the shape of ANYTHING you want?
So what material is used to make waterproof confetti? Well, there’s not a cut-and-dry answer here. I’ve found a few different materials that work well for DIY confetti for a snow globe. Below, I discuss three materials I’ve tested and used to make waterproof confetti. I’ve included specific instructions for how to make them work in a Cricut Maker 3 as well! After I show you the materials, you’ll see a demo of them, including how they look when added to glycerin water!
This post may contain affiliate links. If you make a purchase after clicking one, I may receive a small commission at no cost to you.
Best Material for Waterproof Confetti
It’s just common sense that regular paper and cardstock are not waterproof, and therefore not good choices for putting in a snow globe. You could try to laminate it before cutting, I suppose, but that’s a lot of work for tiny pieces of confetti – and in my experience, laminated paper is water-resistant, not waterproof.
So then I thought about what prepackaged confetti feels like, and the answer is simple – plastic! And there are several ways to find appropriate plastics that can be cut with a Cricut or Silhouette machine.
Cricut Party Foil (and Dupe Option)

- 2 sheets (1 each Solid and holographic sparkle) 12 in. X 48 in. Party…
- Give your parties or decor a blast of colorful shine with playful…
- Cut out shapes to make spinning, twirling, Hanging decor for special…
Cricut Party Foil is waterproof. Unfortunately, it’s been discontinued by Cricut for unknown reasons and is nearly impossible to find now. The good news is that there is an Etsy seller that offers waterproof foil sheets in tons of colors! They’re extremely similar to the Cricut foil and work great for snow globe confetti.
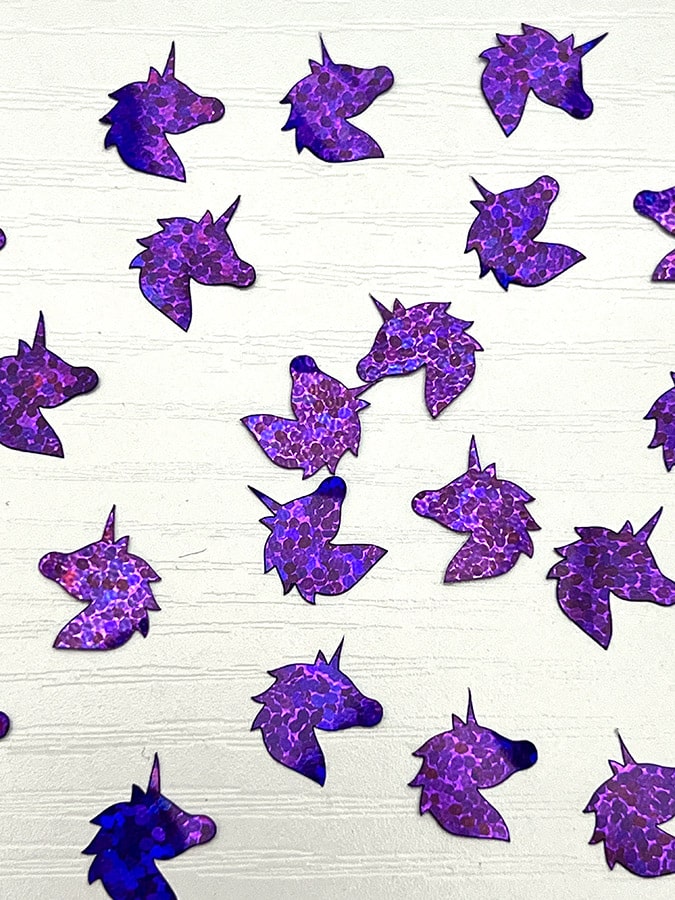
This is the only material I’ve found with the holographic look of traditional confetti. However, it does not sink in the water the way Cricut Party Foil does. But the Etsy foil can be used on pretty much any modern cutting machine, all the way back to the Cricut Explore 2.
You can use the regular silver Fine-Point Blade, but I recommend the gold Premium Fine-Point Blade for cutting tiny things like confetti. When cutting your material through Design Space, there is a materials option called Party Foil you should use.
Plastic Art Sheets

- Assorted 8 colors, including clear, white, black, read, azure, yellow…
- Size: 11X 17
- Sty: 8 sheets
- Lead-free and acid-free
- 12 pt. Polyethylene material great for arts and crafts projects
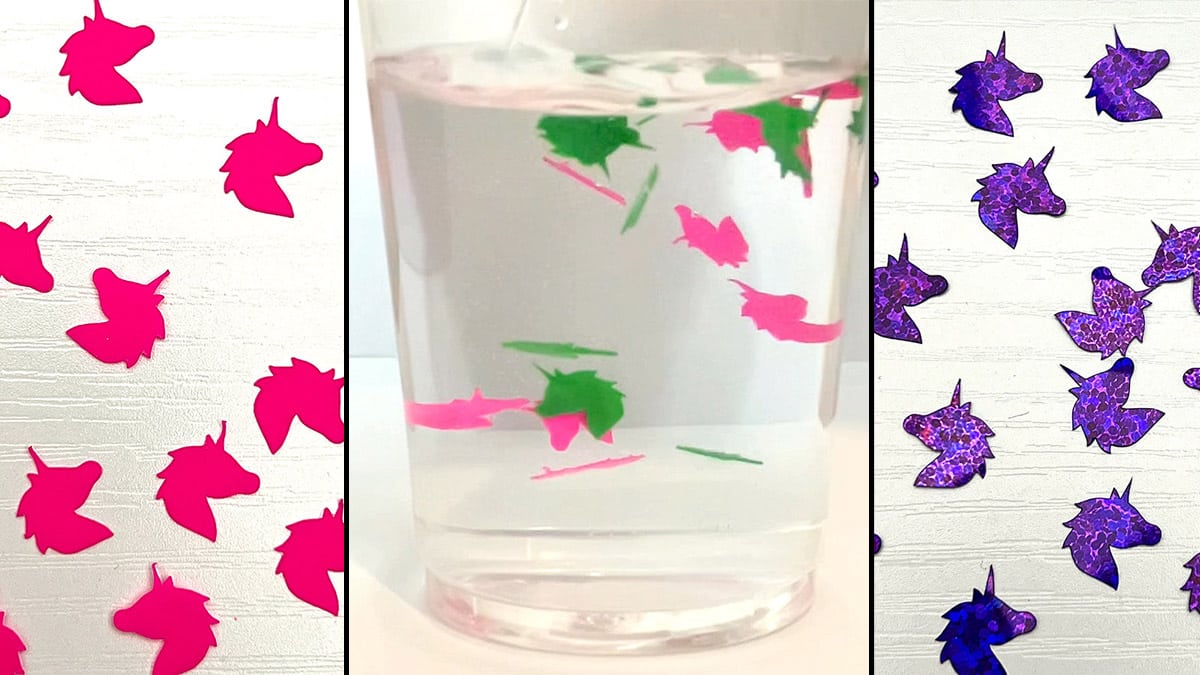
I actually stumbled across these plastic sheets during a desperate search for particular colors of Cricut Party Foil. And I was pleasantly surprised! Although they are not shiny or holographic, these plastic craft sheets work perfectly for cutting out small bits of confetti in my Cricut Maker 3. They can also be used in the original Maker and machines as old as the Explore Air 2! The sheets are thick enough to be nearly opaque (the yellow and frosted white are the most translucent) if that’s important for your confetti.
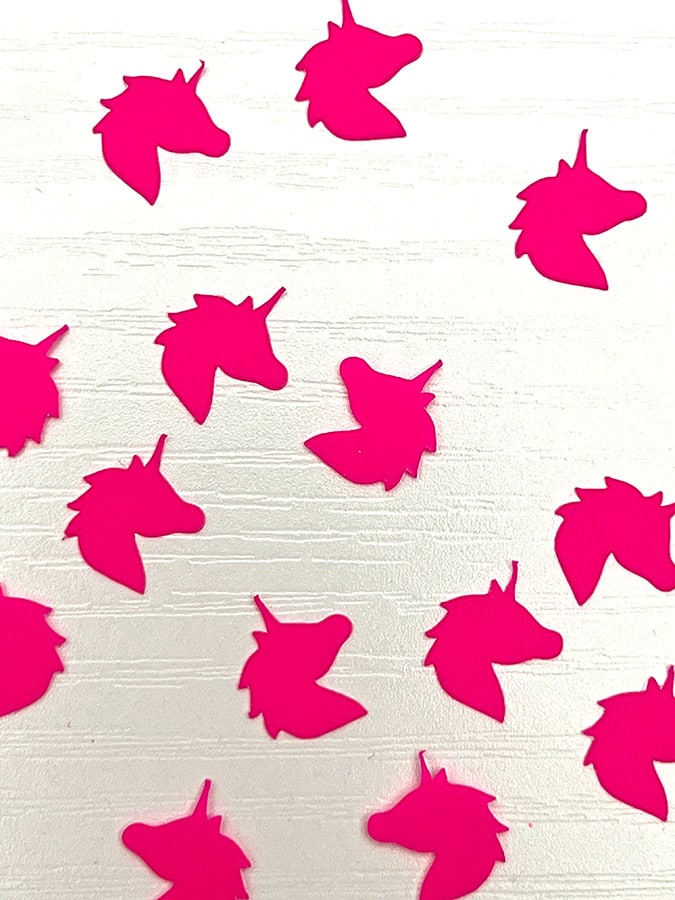
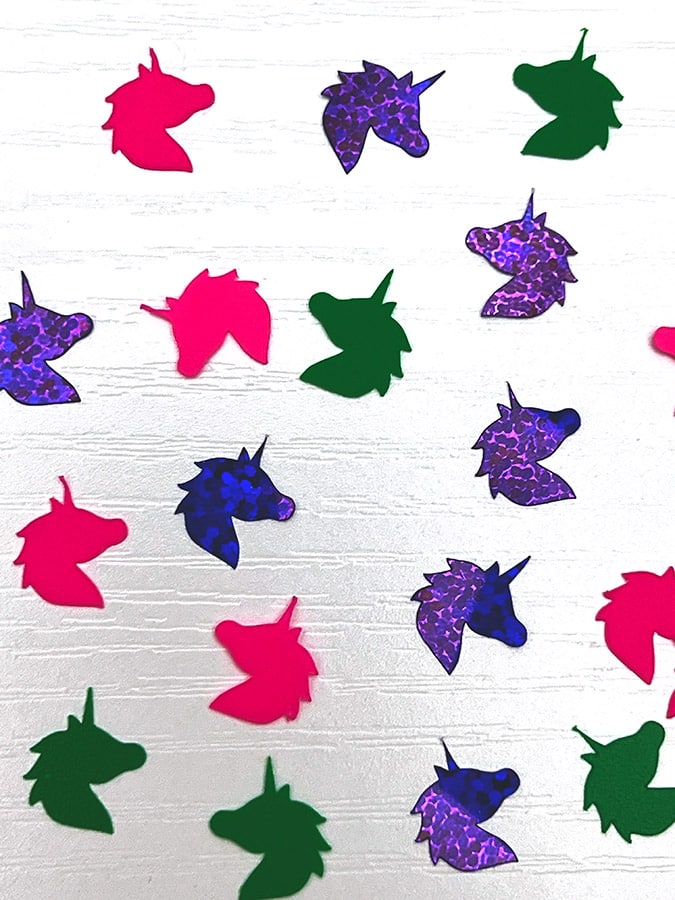
The bad news: the colors are still limited, and they aren’t shimmery like the party foil. But the pack I got did come with red, hot pink, yellow, green, blue, white, black, and frosted white. Unfortunately, even these can be difficult to find in stock due to a global plastic shortage. Items like these become a low priority in that situation. If they’re out of stock at Amazon, I have also found them at Hobby Express.
When cutting, along with the Fine-Point Blade (Premium if you have it), you’ll want to choose the Foil Acetate material setting and allow it to complete the default number of passes (two) so it can cut through the material all the way.
Will plastic art sheet cutouts sink in a snow globe?
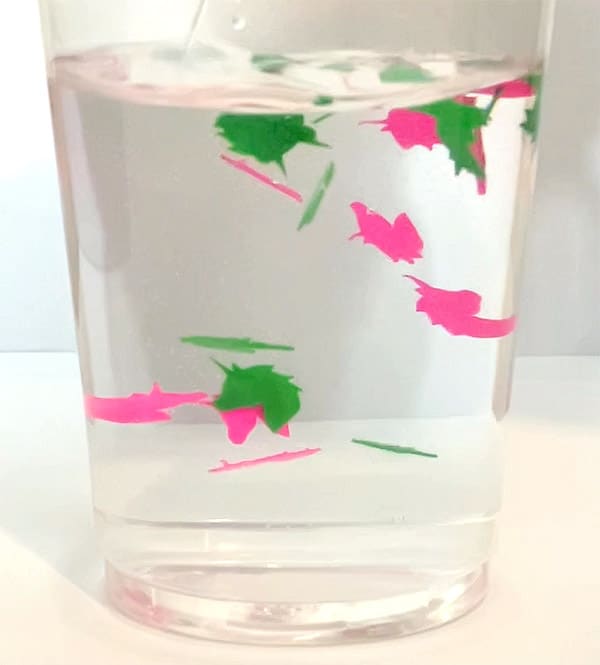
This is where you might not love using plastic confetti in your snow globe. It doesn’t sink. Like, at all. So it depends on what your goal is with your snow globe.
I distinctly remember having a mini snow globe as a kid where all of the fake snow collected at the top rather than settling on the bottom, and to me, it just looked like a cloud! It certainly didn’t ruin the effect for me.
Even with floating confetti, it’ll still swirl around the water when you shake the snow globe. Adding glycerin isn’t necessary to help it float, but it can keep it from rising to the top so quickly! In this case, I recommend adding a lot of glycerin to the water – 4-5 tablespoons per cup.
Plastic Folders

- Letter-size file folder (6-pack) in Assorted Color holds 8.5 x 11-inch…
- 3-hole punched for easily loading into a 3-ring binder (not included…
- 2 pockets, front and back, for storing loose papers
- Made of durable plastic for lasting strength
- Product Dimensions: 9.4 by 0.2 by 11.4 inches (LxWxH)
Times are tough for finding plastic and foil sheets to use with your Cricut to make confetti. But when all else fails, there’s one thing you’re bound to find in any general store near you: school folders!
I first discovered the usefulness of these things in crafting when I made hat brims to attach to Babybel cheeses (in the wax) to look like Mario hats for my son’s birthday party. So when I needed an alternative plastic I could cut with the Cricut, I knew I had to try it! The best part: I found some clearance folders in late fall at Walmart for just ten cents each. Score!
Just cut the folders in half (removing any spine with metal grommets or layered plastic), then cut any pockets off. You can use the front, back, and pockets of the folder for cutting. The material of these folders is the exact same plastic that those more-expensive plastic art sheets above. Sure, you’ll have to cut them up to use them in your Cricut – but it is WELL worth the savings, in my opinion.
Since they are the same type of plastic, you’ll still use the Foil Acetate material setting and cut with the Fine-Point or Premium Fine-Point blade. And just like the plastic art sheets, confetti cut from these plastic folders will almost certainly float instead of sink. Keep that in mind when choosing your confetti material!
How to Make Waterproof Confetti with Cricut
Now I’m going to show you how to make your own confetti with your Cricut! What material you use from the list above doesn’t really matter; just make sure to choose the Blade and Material settings as I described them for your chosen material. If you prefer learning from videos, I have one showing you exactly what to do at the bottom.
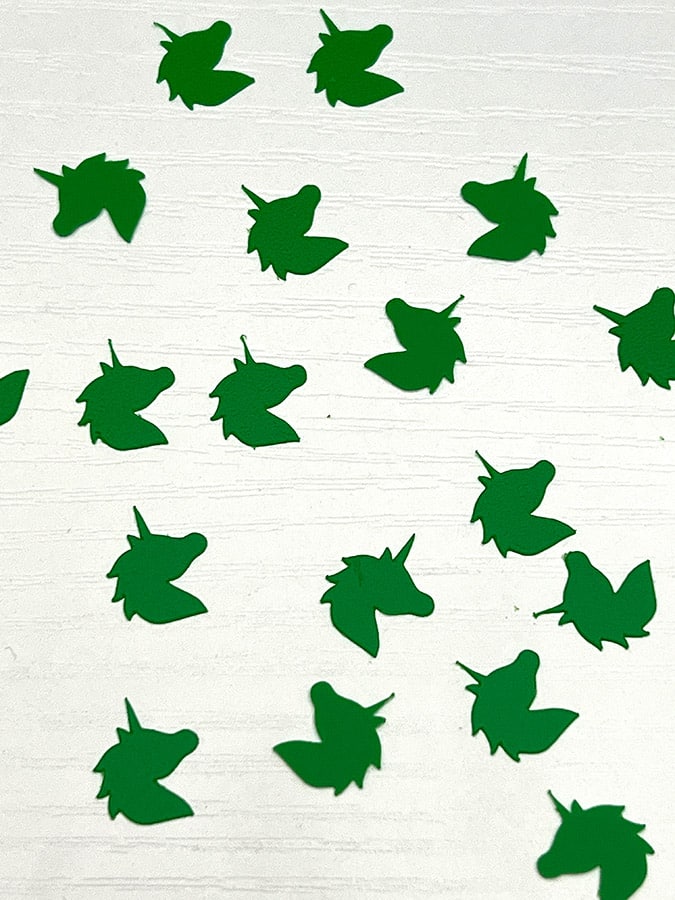
1. Choose your confetti shape(s)
The sky’s the limit! – almost. While the whole point of making your own confetti is that you can cut anything you want, you’ll still want to be mindful of the intricacy of your cut shape. The more detailed it is, the more likely it will be that something goes wrong in the cutting process. Simple silhouettes are better than trying to add facial features or fine details. For this example, I chose to cut out little unicorn heads! If you’d like the SVG, just fill out the form below.

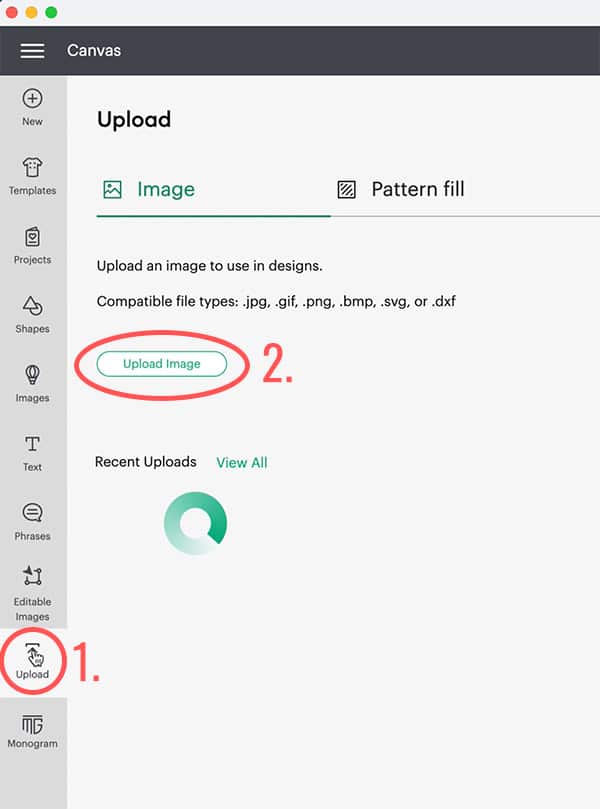
2. Upload your SVG cut file to Design Space
After opening Cricut Design Space and clicking on New Project, go to “Uploads” on the left side and select your chosen SVG file.
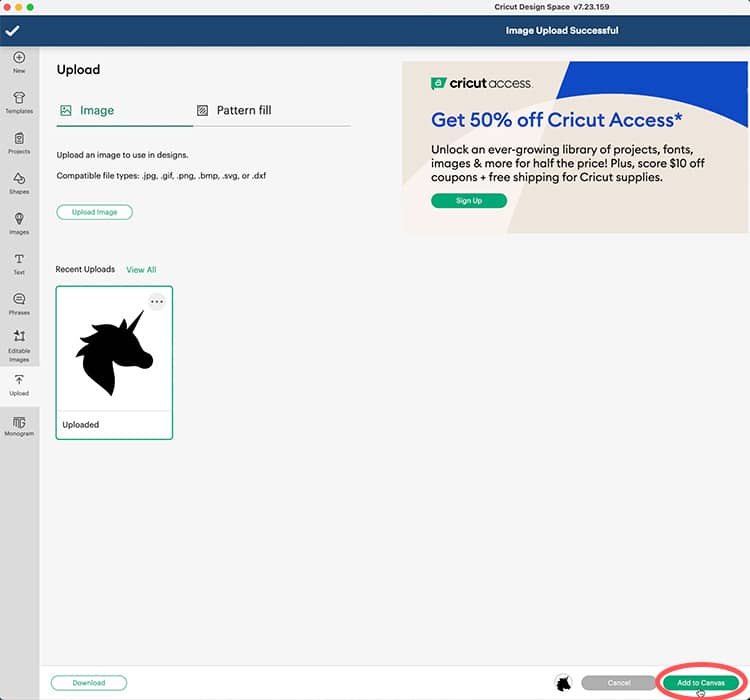
Once it’s uploaded, choose your new Cut Image and click “Add to Canvas.”
3. Resize the shape on the canvas
Your SVG is probably going to pop up larger than you would need it to cut for making confetti. Make sure your dimensions padlock is “locked,” then click and drag a corner of the shape and shrink it down to your desired size.
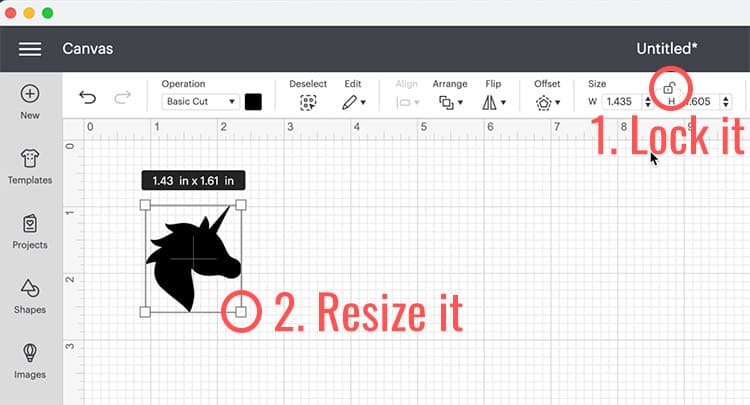
Try not to go smaller than 1/4 of an inch, or your machine may have trouble. Unless your snow globe is teeny tiny, this size should be fine.
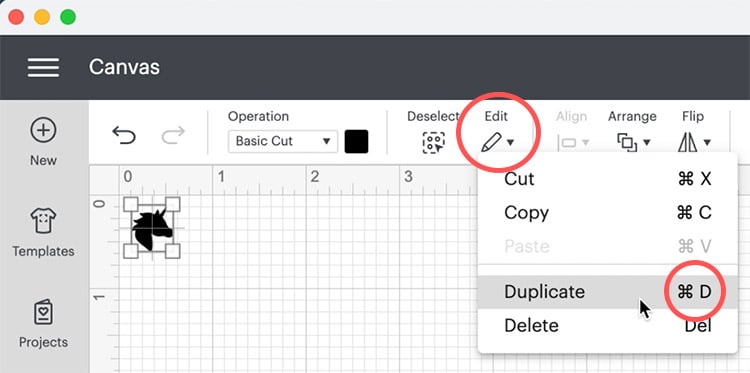
4. Duplicate your shape a LOT
You’re going to want to cut a whole bunch of the same shape, so you need a whole bunch of copies on the canvas to do them all at once. You can right-click and select “Duplicate,” you can go to Edit in the canvas menu to select Duplicate, or if you’re using a Mac like me, just press Command+D on your keyboard over and over to keep duplicating quickly.
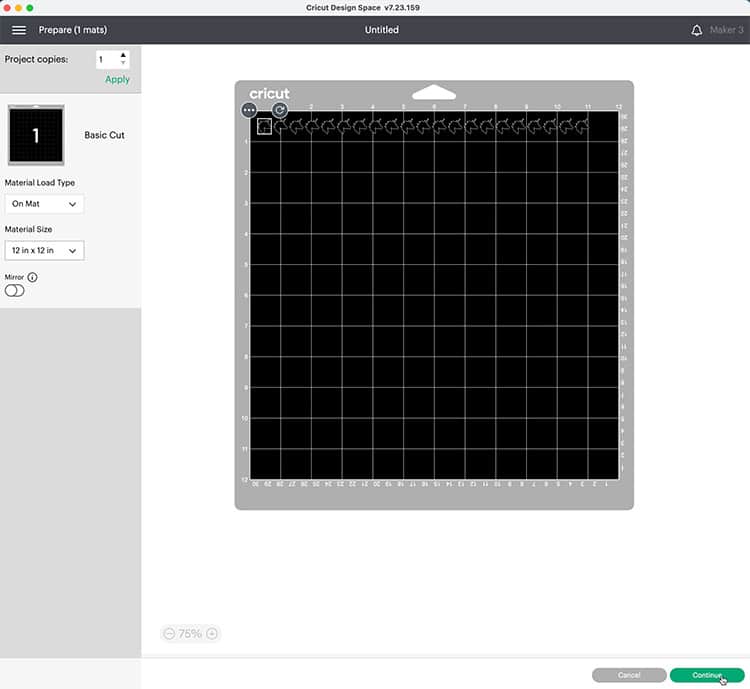
Don’t worry about dragging the layers around so they’re not touching each other; Design Space will automatically place them with space between them when you click “Make It.”
5. Choose your cut settings
After clicking “Make It,” Design Space will show you a preview of how your shapes will be laid out during the cutting process. You can make changes to your mat size and material size at this time.
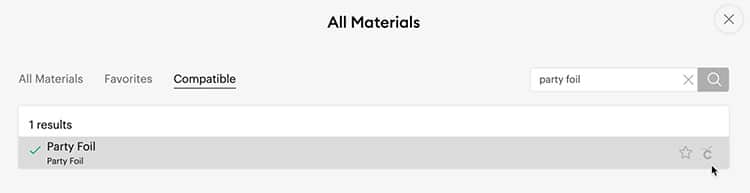
Make sure your machine is turned on, then click “Continue.” Now it’s time to get the cut settings right. In this example, I used the Cricut Party Foil, so I chose that exact material setting from the list.
Then it automatically tells me what blade to use – in this case, the standard Fine-Point Blade.
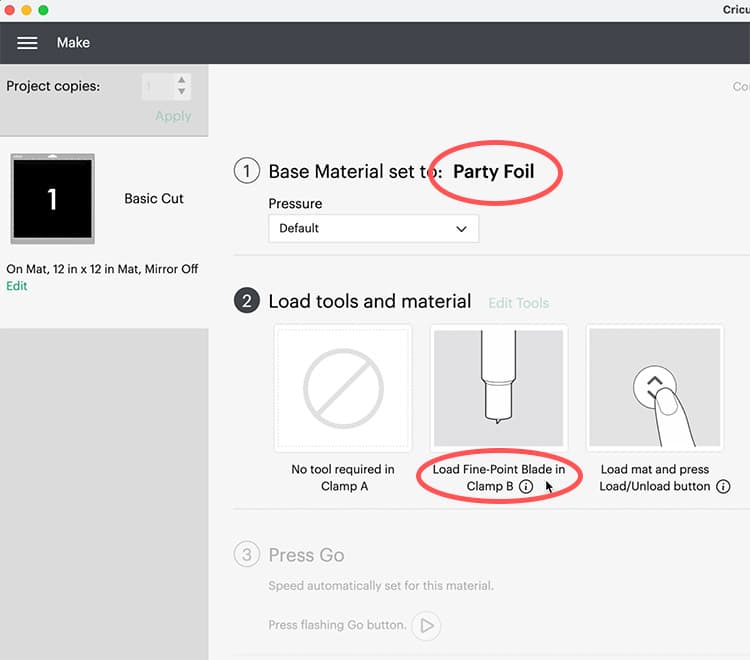
Now it’s time to put your foil or plastic sheet onto a Standard Grip mat (the green kind). Make sure you press out as much bubbling as possible and press it firmly to the mat so it doesn’t move while cutting. Once the mat is ready to load, press it into the machine till it stops, then hit the flashing Load button.
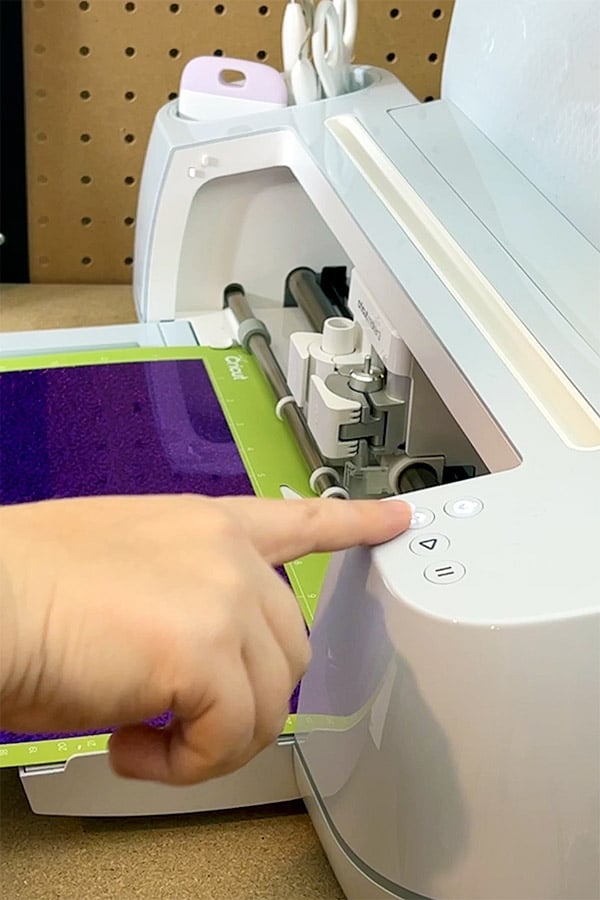
The machine will pull your mat through to make sure it’s the appropriate size. Then click the flashing Make/Go button so it will start cutting!
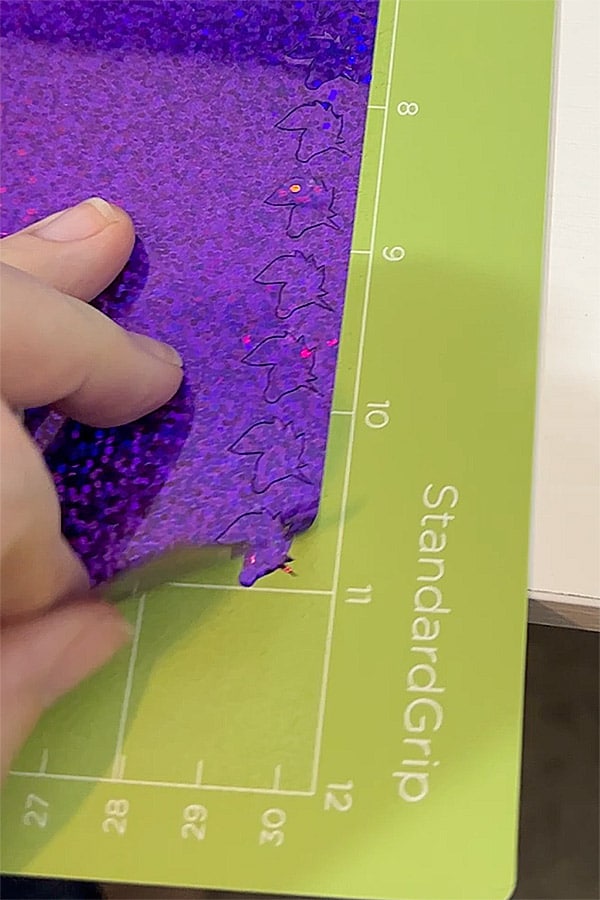
6. Check your cut
BEFORE unloading the mat from the machine, pull up a corner of your material to make sure it has cut all the way through a few pieces of confetti. If it hasn’t, simply press the material back on the mat and hit the Make/Go button again for another pass. During my cut, some of the confetti shapes had already come off the sheet, so I knew they’d been cut all the way through!
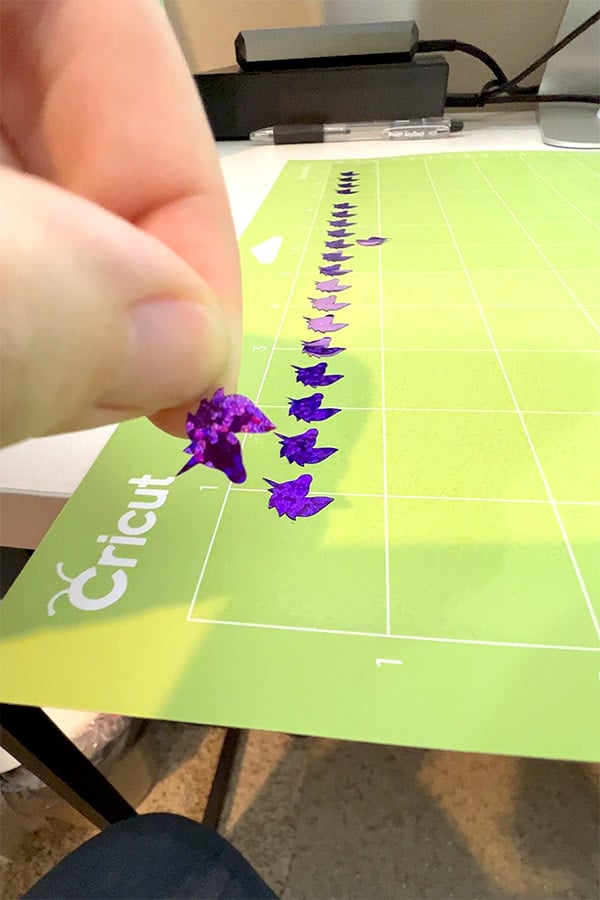
7. Collect your confetti
Once you’re sure the cuts have all gone through the material, it’s time to take off the excess and toss it! Using your fingernails (my preferred method) or a scraper tool, gently remove your confetti pieces from the mat.
And the best news ever is that there are no additional steps toward making this confetti waterproof. It already is!
Get the rest of your snow globe supplies ready and have fun. Just be sure to use glycerin in your water so the confetti has that slow-motion falling effect!
- 2 sheets (1 each Solid and holographic sparkle) 12 in. X 48 in. Party…
- Give your parties or decor a blast of colorful shine with playful…
- Cut out shapes to make spinning, twirling, Hanging decor for special…
- Assorted 8 colors, including clear, white, black, read, azure, yellow…
- Size: 11X 17
- Sty: 8 sheets
- Lead-free and acid-free
- 12 pt. Polyethylene material great for arts and crafts projects

- MULTI-PURPOSE AND VERSATILE SKIN CARE: Pure vegetable glycerin is an…
- SOFTENS AND MOISTURIZES: It’s easily soluble in water, making it…
- SINGLE INGREDIENT: Pure vegetable glycerin has a long shelf life and…
- NOW is transitioning our carrier oil bottles to be made from 100% PCR…
- GMP Quality Assured: NPA A-rated GMP certification means that every…

- 🔮 UNIQUE DIY SNOW GLOBE: Creative Hobbies offers a 5-1/2 inch tall…
- 💪 SHATTER PROOF: Made of sturdy and clear plastic, this snow globe…
- 🎨 CUSTOMIZABLE: Decorate the snow globe with paint, fabric…
- 🎁 GREAT GIFT IDEA: This DIY snow globe kit makes a thoughtful and…
- 🖌️ DIY CRAFT KIT: This snow globe includes instructions and a…