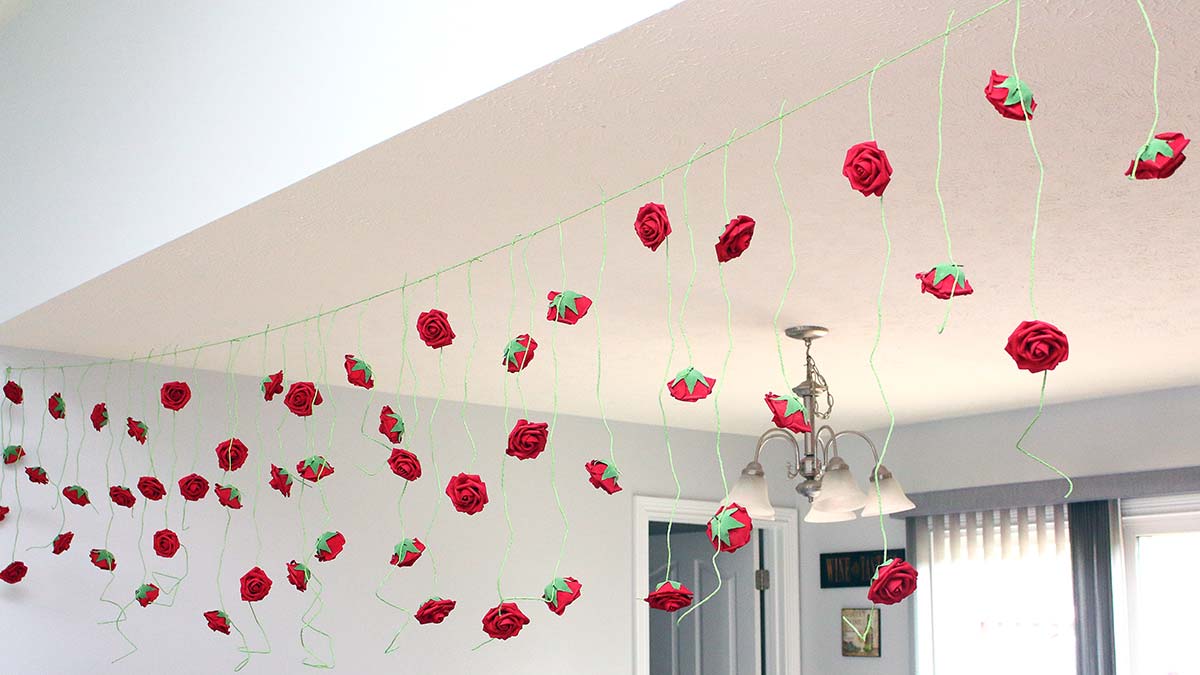
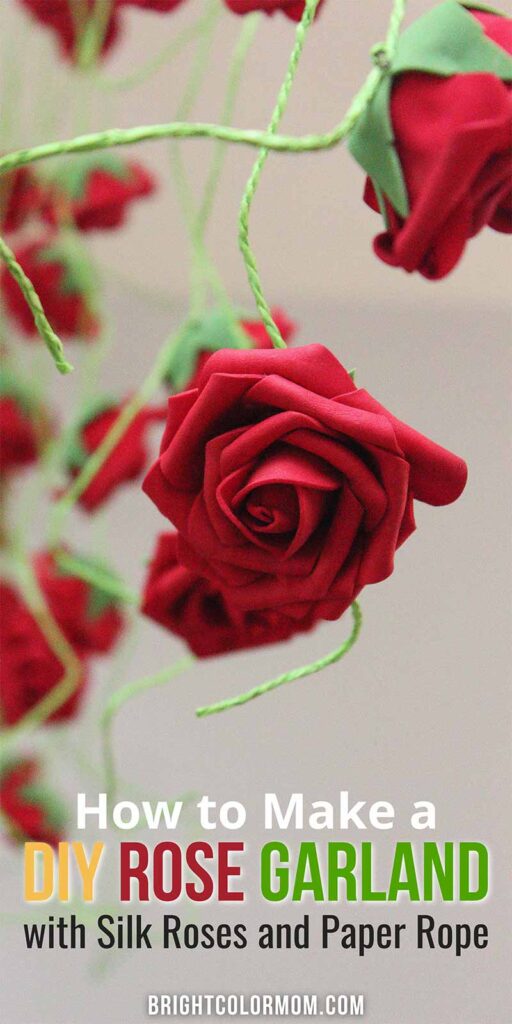
Forget wilting florals and expensive stems! We’re crafting a stunning DIY rose garland with fake flowers. Yes, you heard right. Artificial roses have come a long way, my friends, and they’re the secret weapon to creating a gorgeous, budget-friendly garland that’ll last for ages.
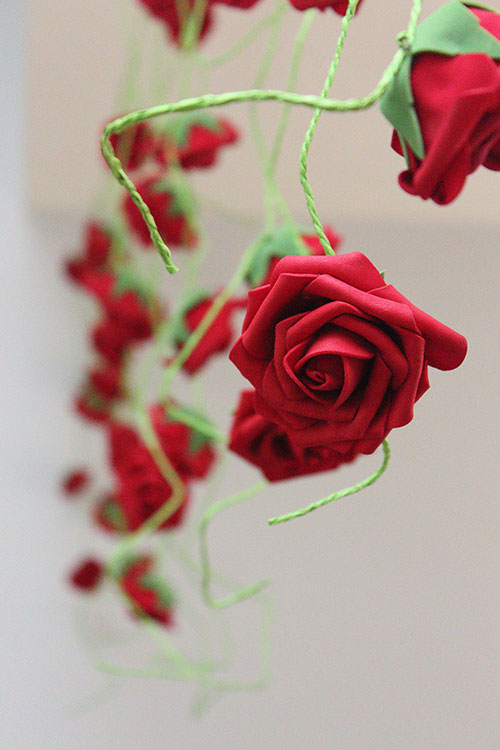
I made a hanging red rose vine garland as a walk-through “curtain” for my daughter’s Beauty and the Beast-themed birthday party. It didn’t take long and set the scene beautifully. Plus, this project is so easy that even your kids will happily help. Intrigued? Let’s get crafting!
This post may contain affiliate links. If you make a purchase after clicking one, I may receive a small commission at no cost to you.
Materials Needed
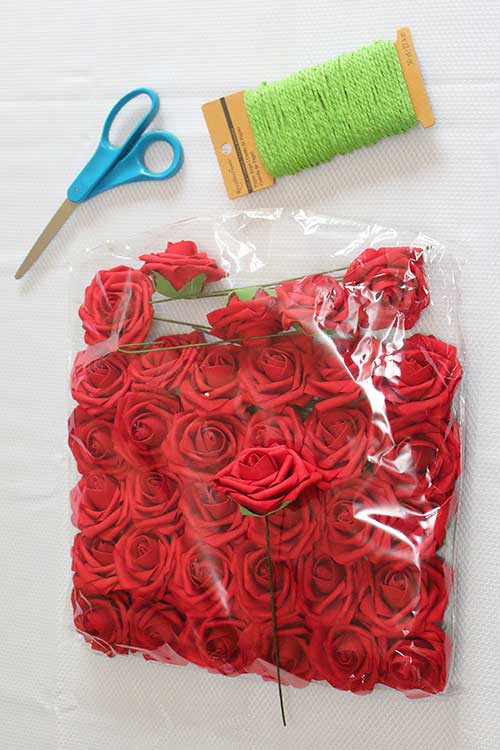
- Lots of faux red roses (with stems)
- Green paper rope (make sure it is bundled in sharp loops or wrapped around cardboard)
- Wire cutters
- Needle-nose pliers (optional)
Step-by-Step Instructions
1. Cut several lengths of green paper rope.
Think about how long you want your vines to be. Are you covering a wall from the ceiling to the floor, or are you creating a half-curtain between rooms? Once you know how long the longest vines should be, cut a few of that length and of shorter lengths. There should be variations from an inch shorter up to a foot shorter.
2. Tie a piece of paper rope around a rose stem.
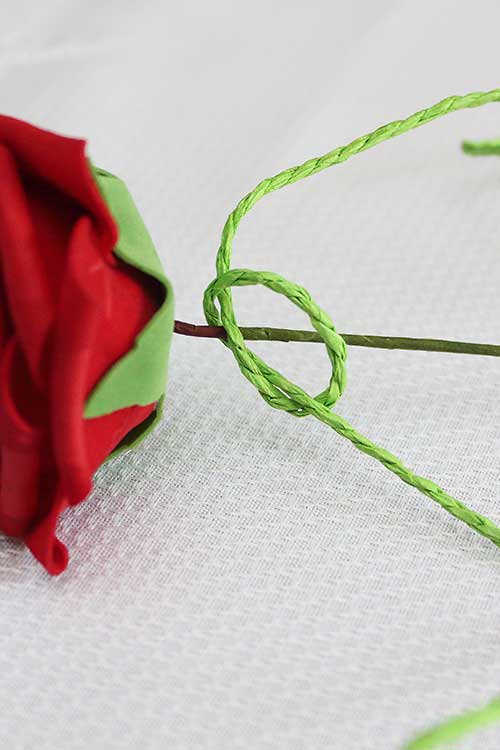
Using a simple overhand knot (like tying your shoes), wrap one of your paper rope vines around a rose stem. Once the rose is where you want it to hang on the vine, pull it tight. Paper rope is not slippery, so a single overhand knot is all you need to hold the rose in place.
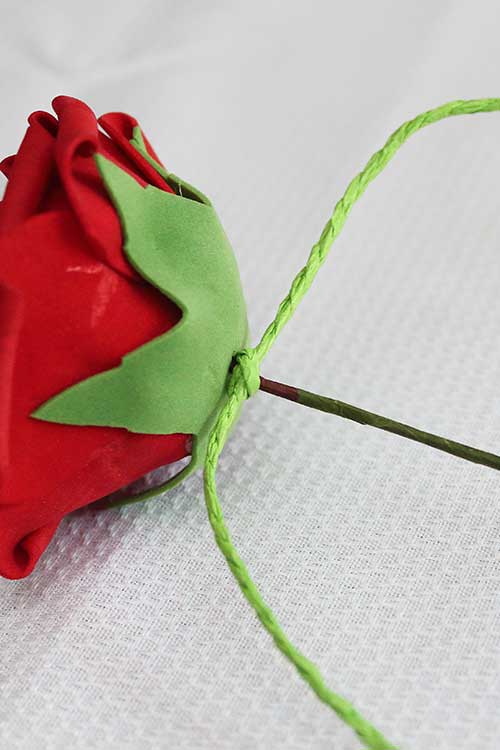
3. Trim the rose stem.
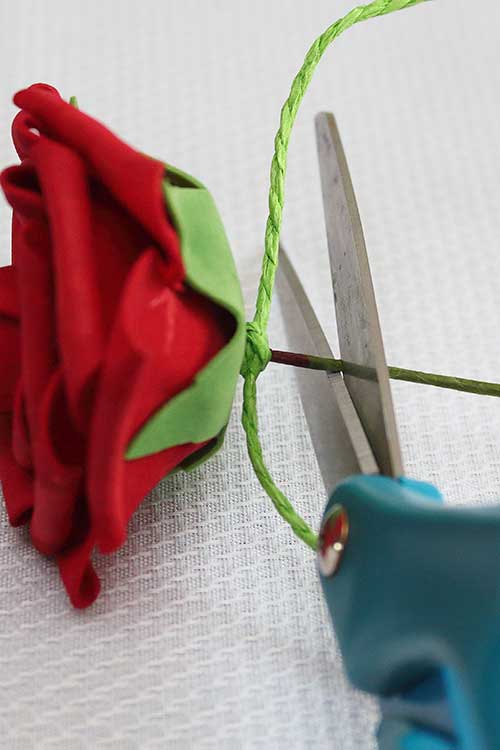
Using your wire cutters or scissors (not the good ones), trim the rose stem, leaving about 3/8″ of it attached.
4. Bend the remaining stem to lie flat against the rose.
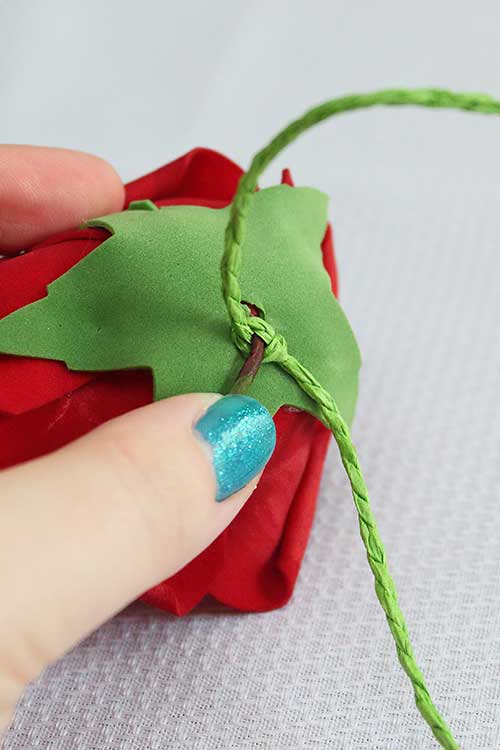
Using pliers or scissors to grip the remaining stem, bend it over the paper rope toward the bloom. This ensures the rose doesn’t slip out of the knot.
5. Repeat these steps to add more rose blooms to your paper rope.
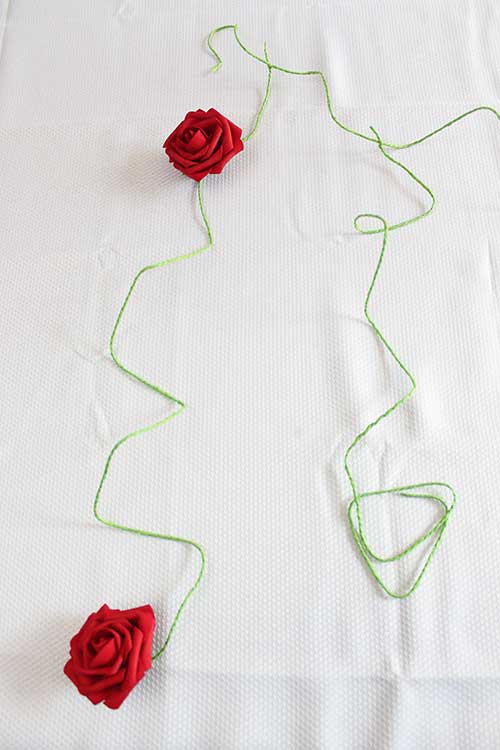
Move down the vine, adding as many roses as you like. Your final rose can be at the very end, or you can leave some vine dangling below it. When you’re satisfied with the first vine, move on to the next. Lay it side-by-side with the first while you work to make sure you’re staggering the placement of the roses between the two. Repeat this process until you have as many vines as you need.
6. Cut a length of paper rope to your desired width.
Cut a single strand of paper rope to the full width of the area your vines will cover plus at least six inches of slack. If desired, tie a loose slipped overhand knot on each end of this strand to hang it on hooks after assembly is complete.
7. Tie each paper rope vine to the new length.
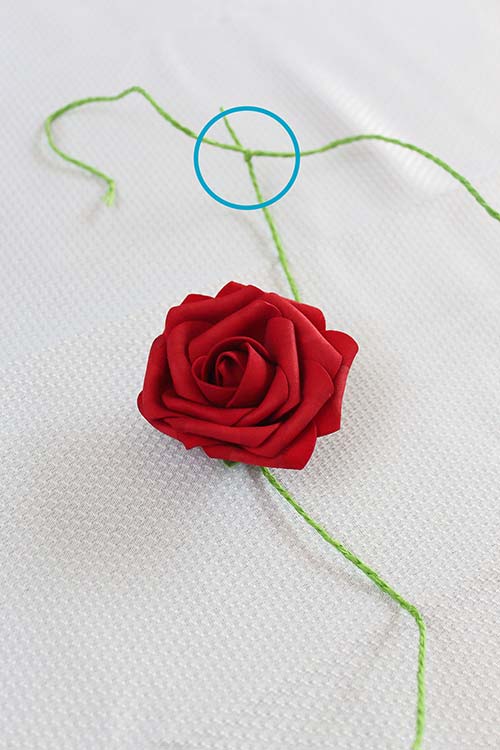
Tie your rose vines to the paper rope you just cut using the same simple overhand knots you used to attach the roses. Be sure to leave your desired amount of space between vines; you can leave your overhand knots loose until you’re sure of their placements.
8. Hang your garland!
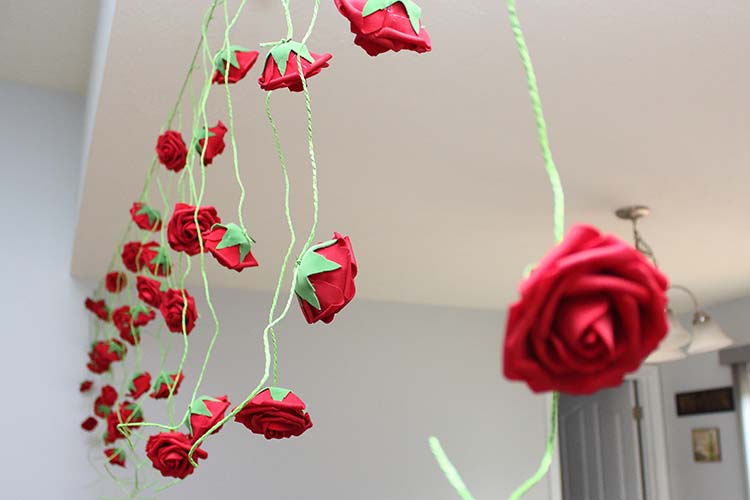
Because this garland can be extremely lightweight (depending on the number of roses used), simple tape may hold it up. I like to use gift wrap tape for a strong but temporary hold. For maximum security, though, I recommend using clear Command hooks at either end, cinching slipped overhand knots tied in the paper rope over them. Depending on the width of your garland and your desired aesthetic, you may need additional clear Command hooks in between to hold it up.
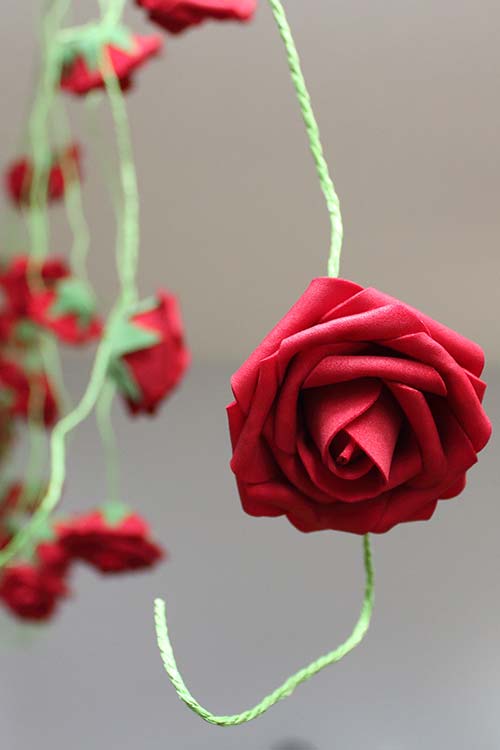
Customize Your Floral Backdrop
Colors
Ditch the classic red and embrace a rainbow! Mix and match rose colors for a playful vibe, or swap the green paper rope for a bold color to complement your roses. Use white roses with gold paper cord for a modern color combo.
Flower Power
Don’t stop at roses! Add textured greenery like faux eucalyptus or ferns to add a touch of nature. Consider other artificial blooms like peonies, hydrangeas, or even baby’s breath for a fuller, more whimsical look.
Light it Up
Take your garland from daytime glam to nighttime magic by weaving in fairy lights. String them throughout the garland or cluster them around the roses for a truly enchanting effect.
FAQ
How many roses do I need?
That depends on:
- the total width of your garland,
- how dense (close together) your hanging vines will be,
- and how many roses you want per vine.
My garland used about 55 silk roses. I had a very wide space to cover (about 12 feet), but I kept my vines sparse and my roses far apart so taller guests would have no issue walking through them. It was meant to be a decoration, not a barrier or divider!
If I’d wanted my vines closer, say two inches apart, and full of rose blooms about two inches apart down the vine, I could’ve easily used hundreds of roses! And if you’re making longer vines, such as ceiling to floor, you’ll need more roses too.
Start by deciding how long your longest vines will be and do a trial run to see what density of blooms on the vine you like best. Then decide how far apart you want your vines to sit, divide that into the total width your garland will be, and multiply that by the number of roses on your initial vine.
Can I use real roses instead?
While real roses are undeniably beautiful, they wilt so quickly. Plus, the weight of a whole lotta blooms can get really heavy, really fast. Trust me, artificial roses are extremely affordable and beautiful these days and last a heck of a lot longer. Think of it as an investment in floral fabulousness!
Can I use ribbon or stretchy cord instead of paper rope?
I get the urge to use materials you probably have on hand! But here’s the thing: paper rope is a champ at holding its shape. Once you attach those roses, the garland will keep its pretty, vine-like bendy form. Ribbon or stretchy cord might just hang there all stiff and straight, looking a little less, well, vine-y.
How can I make my garland last?
Treat your creation with kindness! Gentle handling is key. When you’re not wowing everyone with your DIY skills, store your garland in a cool, dry place, and be careful not to crush your blooms under other items in storage. Wrapping the individual vines around narrow strips of cardboard is a great way to ensure they maintain a bent appearance the next time you hang them.
That’s it! With some patience and creativity, you’ve transformed some budget-friendly materials into a gorgeous DIY rose garland. Not only is it easy on the wallet, but it’ll last for ages. Be sure to check out my DIY Beauty and the Beast chandelier made from plastic cutlery while you’re here. Happy crafting!
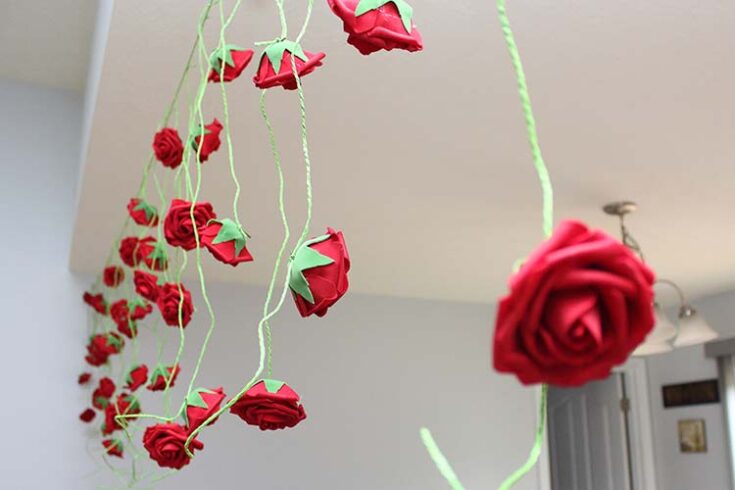
DIY Rose Garland
Enjoy beautiful, unwithering rose vines year-round with this homemade garland of silk roses on paper vines!
Tools
- Scissors
- Wire cutters
- Needle-nose pliers
Notes
The number of artificial roses and the length of paper rope you will need depend heavily on the width and desired density of your garland. Mine shown is 12 feet wide and uses approximately 55 rose blooms for a less-dense decoration.

