Making DIY gender reveal powder is very cheap and fairly easy. There are a few recipes floating around, and most of them take several days of drying time before you can use them. But how do you make colored powder fast?
I experimented with a method to get super-dry powder as quickly as possible. That way, if your two-day-dry powder ended up moldy the day of the big reveal or your Amazon order came busted, you can make more on short notice! Who wants to wait days to finish a project, anyway?
However, I also made a batch the way most people recommend, letting it air-dry for a couple of days. Knowing the risk of growing mold, I even took great care to try and prevent it. I waited until there was no rain in the forecast and the humidity was low. We added just enough water to get the cornstarch to shift from clumpy and powdery to slimy. I stirred the bowl several times over a 48-hour period to help bring the wettest parts to the top!
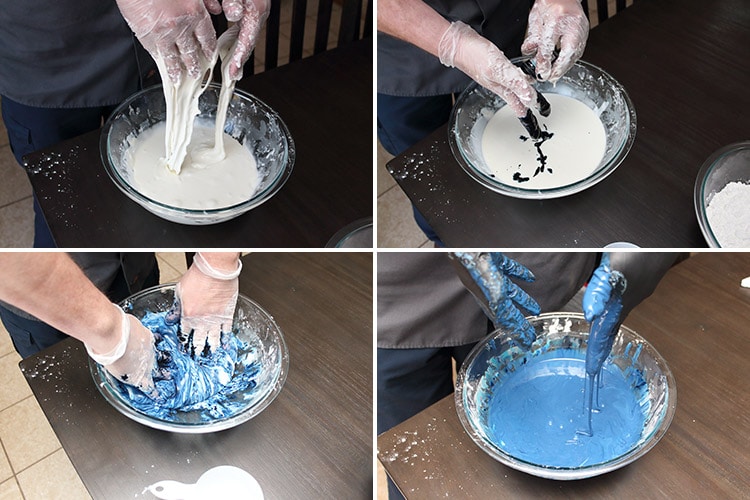
And you know what? It. Still. Molded. Gross! And it molded on my batch of blue, too, so I didn’t even realize it had molded until I threw it in the blender and it wouldn’t blend easily like my fast-drying batch had. Then I noticed the smell of bread… And then, when I looked super-close, I could see the fuzzies growing aaall over the powder. YUCK.
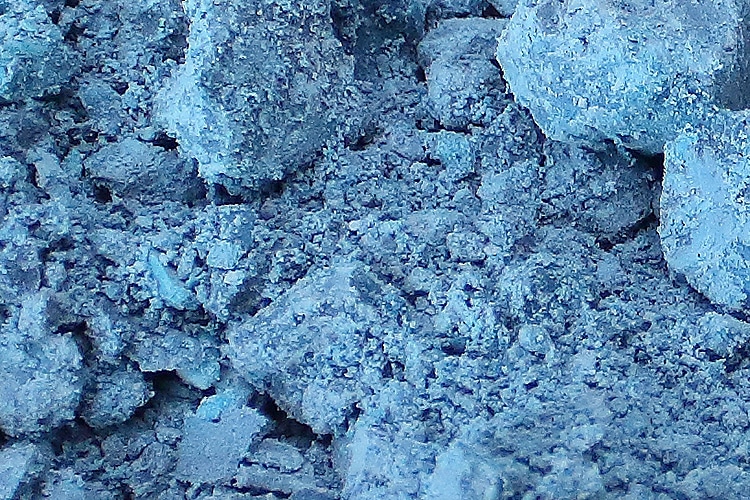
Speeding Up the Drying Time for DIY Color Powder
I made my second batch of gender reveal powder differently (and pink!), with the desire to get it completely done as fast as possible. And it totally worked with ZERO mold in the powder over a week later, so feel free to use this new method instead! It doesn’t guarantee your powder will never mold, but if you’re in a rush because you’re going to use the powder soon anyway, it is absolutely perfect!
So, take it from me, someone who has experimented thoroughly with making her own colored powder – try my quick-drying method below. It’s proven to be better!
This post may contain affiliate links. If you make a purchase after clicking one, I may receive a small commission at no cost to you.
How to Make Colored Gender Reveal Powder
Supplies Needed
- large metal or glass bowl
- strong disposable gloves
- one pound of cornstarch (almost three cups)
- water
- one ounce of Wilton icing coloring
- blender or food processor
- ziplock bags for storing
- large baking sheet
Don’t use any bowl that’s not metal or glass. If you use any other kind of bowl, you run the risk of it being stained by the food coloring.
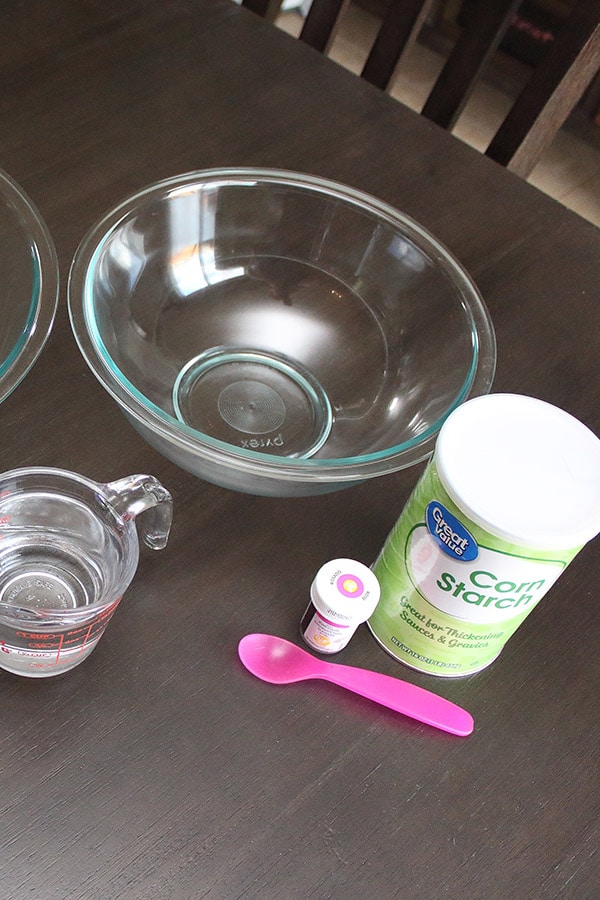
1. Preheat the oven to 170 degrees.
You can go slightly warmer if you want, but super-high temperatures risk scorching the cornstarch and ruining the beautiful color you’ve achieved.
2. Pour all of your cornstarch into the bowl.
Do this gently or you will have a huge dust cloud go everywhere! I recommend holding your bowl over the top of the can, then turn it upside down and slowly lift up while jiggling and tapping to get the powder out.
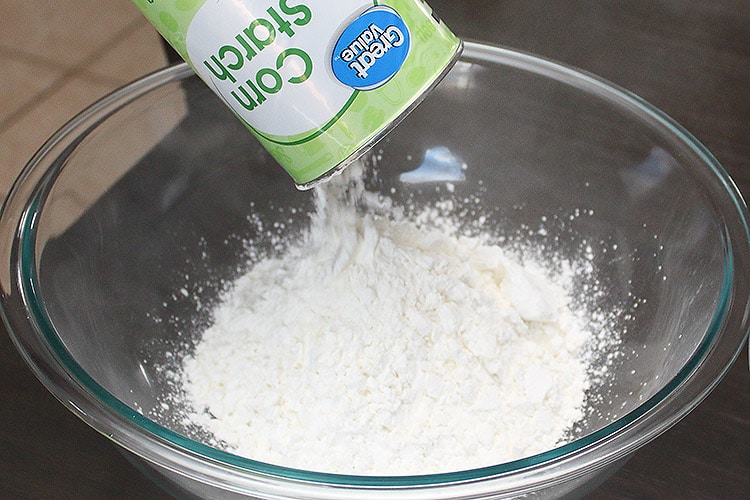
3. Add half a cup of water.
The ideal ratio of cornstarch to water for this method is 6:1. A pound of cornstarch is just shy of three cups.
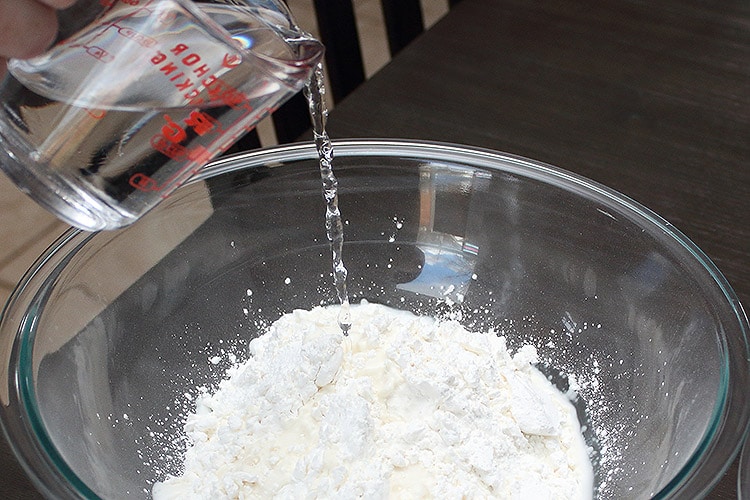
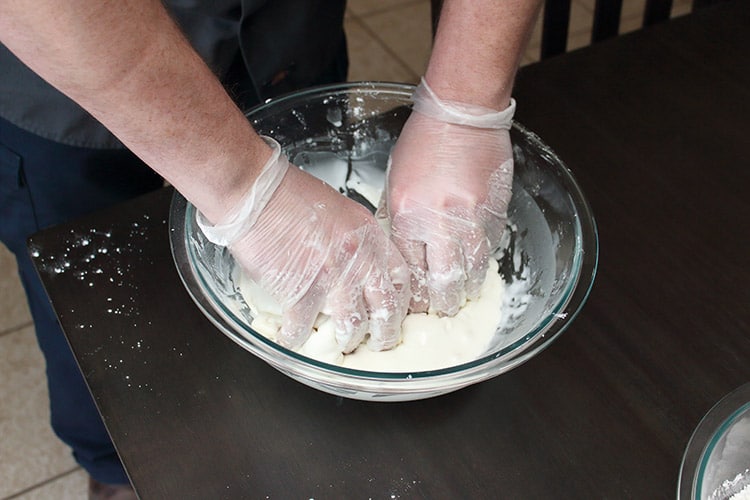
4. Combine the cornstarch and water.
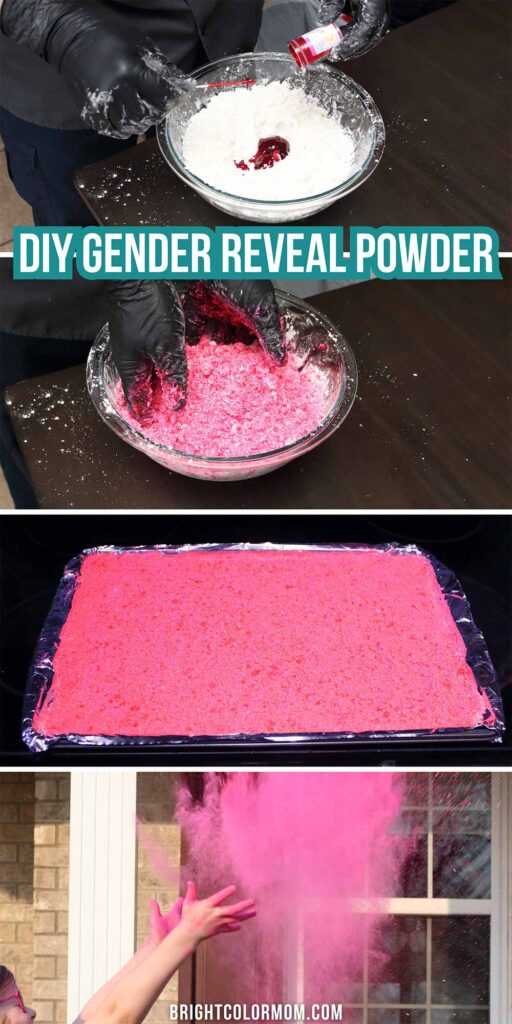
With gloves on, combine the cornstarch and water with your hands. You don’t have to use gloves for this part, but if you don’t, your fingernails are going to end up caked with gunk. The cornstarch should remain powdery; you’re just trying to dampen all of it with the water. If it becomes liquid or slimy, you’ve added too much water and should add back some cornstarch until it behaves more like a powder again.
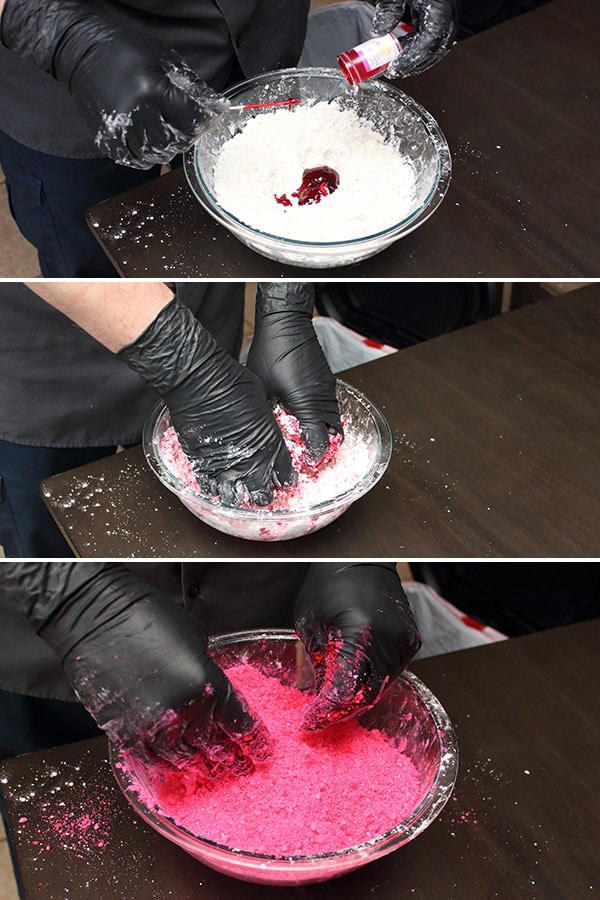
5. Add your food coloring.
Empty an entire container of Wilton icing coloring into the mixture and thoroughly blend with your (gloved) hands. You could probably use less than the whole container, but the color will be super-bright this way. Plus, we found the easiest way to empty the container was to just stick our gloved fingers into the jar and pull it out!
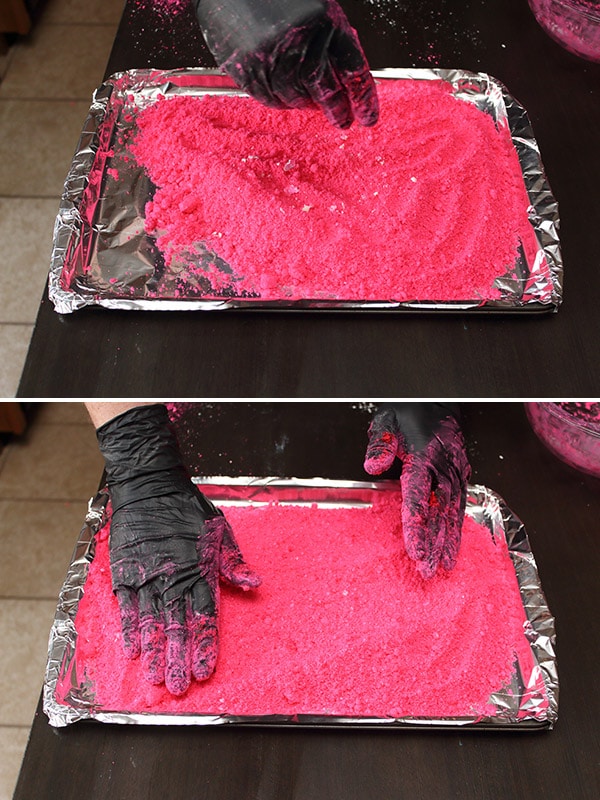
6. Spread the mixture onto a baking sheet.
Make sure you spread it out as evenly as possible. You can use a fork, spoon, or just your hands to break up the clumps and spread the powder over the baking sheet. While spreading, find any larger clumps and rub them between your fingers to break them up. Any color on your hands should easily wash off.
If you discover that the clumps of powder are still white, that’s okay! As long as the vast majority of the cornstarch has been colored, the bits of white will not be noticeable in your reveal. You will blend them in with the pink after it’s dried.
7. Bake for two hours.
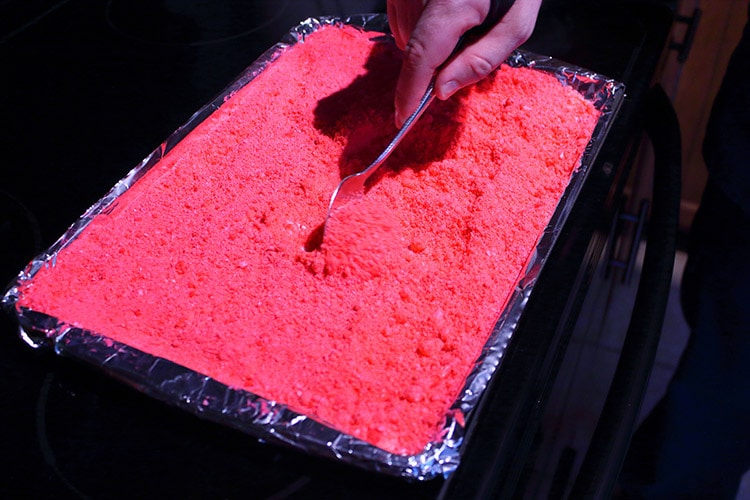
While it bakes, pull out your oven rack every 20 minutes to give it a stir, then put it back in. This should remove the moisture from the cornstarch. I just used a regular spoon to stir up the powder and move the damper bits to the top.
If after two hours the powder still appears damp, keep baking for 10-minute increments until the powder feels completely dry. Any remaining moisture can lead to mold growth if not using the powder right away.
8. Pulse cornstarch in a food processor.
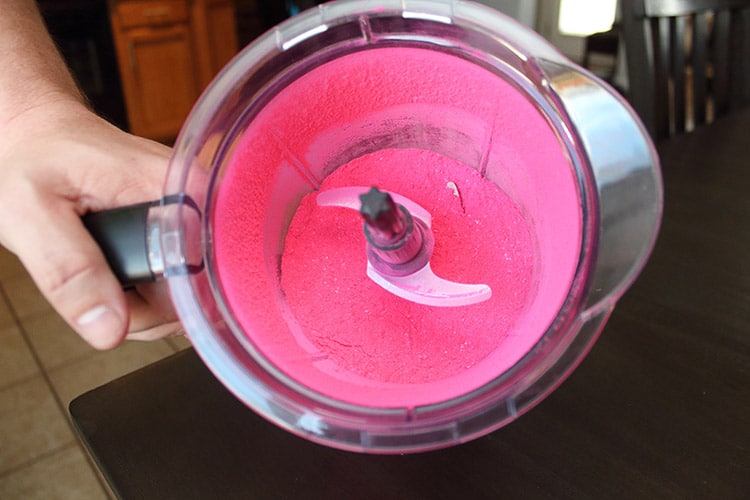
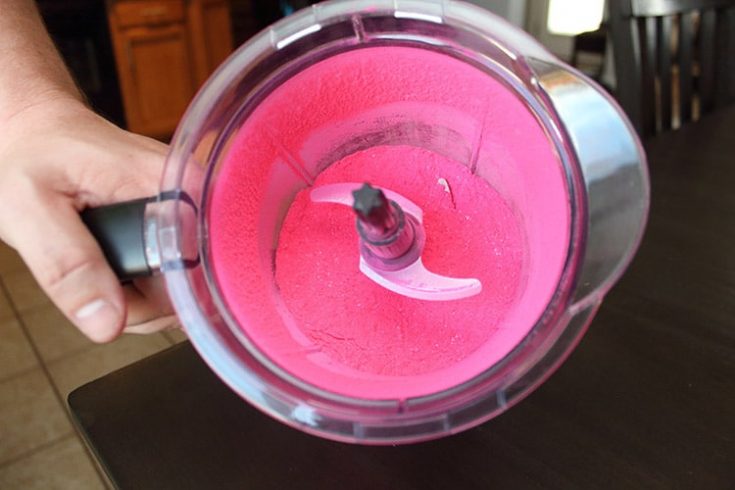
Scoop the cornstarch into a food processor and hit the pulse button several times until you reach a fine powder. The mixture should be thoroughly refined after 30-60 seconds of pulsing. If your method of gender reveal relies on super-fine powder for the effect (such as a balloon pop or tire burnout), you can always run the powder through a sifter as well. If you find that the powder doesn’t “jump” when you pulse, it’s probably still damp and needs to bake longer! I didn’t even have to bang on my blender to get all of the chunks broken down.
9. Store cornstarch in the refrigerator.
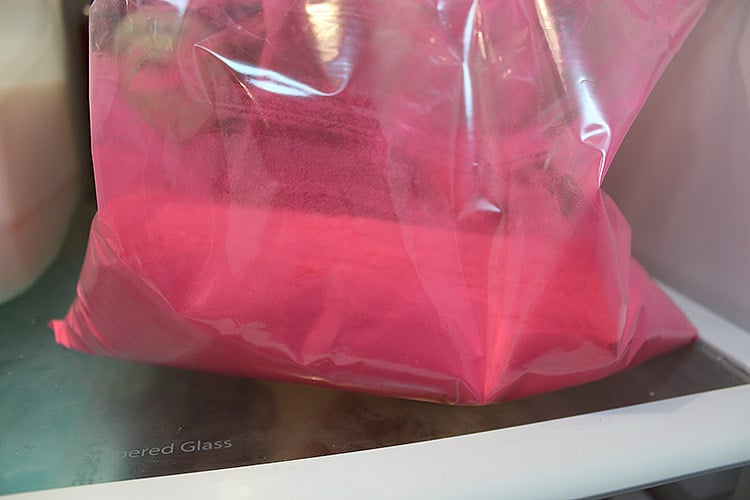
Place the gender reveal powder in a ziplock bag and refrigerate. Since it is just so hard to tell if there is any water left in the cornstarch, keeping it in the refrigerator will help slow the growth of any mold that may threaten to ruin your beautiful DIY gender reveal powder! That being said, if you were able to remove all moisture, this color powder should last indefinitely (much like plain cornstarch).
Making Larger Quantities
You can definitely multiple this recipe, as long as it’s roughly three parts cornstarch to one part water. Err on the side of less water rather than too much; extremely wet powder won’t dry fast enough.
The key is to keep large quantities of color powder mix from molding before it can dry. But you don’t want to bake it in the oven too long, either, or it may start to brown and lose some of its brightness.
However much you make, spread it into multiple baking sheets (no more than one pound per sheet) so that it’s not too thick. You can always bake them in batches; it’ll still get done faster than waiting days for it to dry (and potentially mold).
Storage Life of Homemade Gender Reveal Powder
If you got the color powder completely dry, it should stay good indefinitely, just like cornstarch normally would. Just keep the powder in the ziplock bags until you’re ready to use it. The issue here is it’s difficult to know if you got all the moisture out of the powder before storing it.
For this reason, I recommend making your DIY gender reveal powder as close to the reveal date as you can and keeping it in the fridge, just in case. Don’t wait until the morning of the reveal if you can help it, in case your first attempt doesn’t go as planned.
How to Use Gender Reveal Powder
You can use colored powder for your gender reveal in a number of ways!
- Tire burnout or exhaust smoke
- A black balloon that’s popped
- DIY gender reveal powder cannon
- Cut the tips wider on condiment bottles and shoot them in the air
- Just stick your hand in a black bag and throw it in the air!
Whatever you decide to do, please don’t try to make colored powder bombs using any kind of explosive. That’s how people get killed and end up in a crazy gender reveal tragedy headline! Also, cornstarch IS flammable, so it should never be used around an open flame. If your car’s exhaust shoots flames – accidentally or by design – you absolutely should not use it for a burnout or exhaust smoke gender reveal.
Never throw cornstarch (or any other powder) directly in someone’s face. Even if a product is completely natural and non-toxic (like cornstarch), that doesn’t mean inhaling it won’t cause problems. Cornstarch in particular has been found to cause inflammation in the lungs. The mother-to-be in particular should stay out of the line of fire.
If you’re interested in using color powder with your car, I’ve already got a great guide on how to use gender reveal burnout powder! It goes over using the powder both in bags burst by your tires and funneled into your exhaust pipe.
Cornstarch is the Best Choice
There are a lot of different powders out there, so you might wonder if you can use something besides cornstarch. Like, would flour or baby powder work?
For this project, I found that cornstarch was the best option. Cornstarch is a finer powder than flour, so it will blend back into a finer powder than flour will after the coloring is done. And I generally avoid the use of baby powder altogether due to its links to ovarian cancer and asbestos.
Low Risk of Staining
While food coloring itself easily stains clothes (though you can usually still get it out with enough effort), this colored powder likely won’t. If it’s fully dried, it’ll just cling to the surface of your clothes and you can probably shake most of it off before you even wash them.
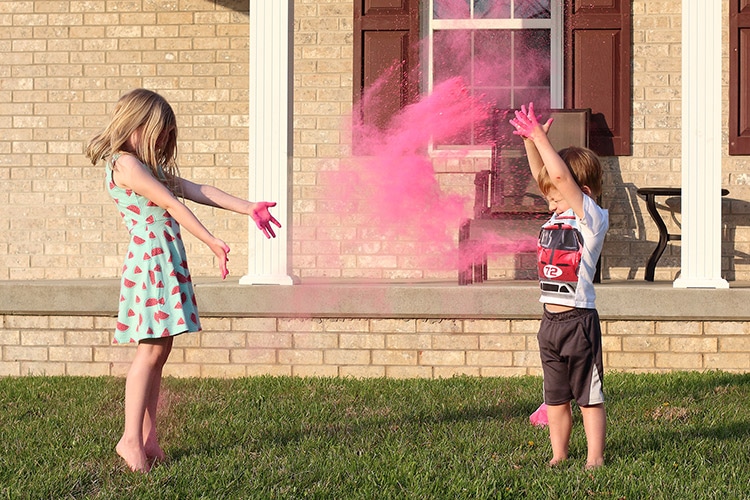
However, I can’t guarantee this powder won’t stain your clothes (though it will not stain your skin as long as you wear gloves to mix it). So I’ve got some tips on how to prevent stains when using gender reveal powder.
Don’t wear your favorite clothes.
While the odds of gender reveal powder staining your clothes is very slim, it’s always best to err on the side of caution and wear clothes that are old or not your favorite.
Don’t wear your favorite shoes, either.
Your shoes are the most likely to remain stained after being hit with color powder, especially if you can’t run them through the washing machine. If you want to try and save them, try and immediately dab, blot, and gently rub them with a cold, wet washrag.
But really, you should wear some cheap flip-flops, the shoes you wear to mow the lawn, or just go barefoot.
Wash your clothes ASAP in cold water.
Hot water can help colors set in clothes, so cold water is your best bet. The longer the powder sits on your clothes, the more likely they’ll be to stain as well. I also recommend you spray your clothes with Oxi-Clean Stain Remover before putting them in the washing machine to help everything come out on the first try.
Cost of DIY vs. Buying Colored Powder
Truthfully, I’d say making your own gender reveal powder is only worth it if you’re really short on time and need it, like, today. This stuff is hard to find in stores! DIY could also be worth it if you only need a small amount, as the cost of shipping may make the premade powder more expensive to get online. But the cost to buy pre-colored powder is about the same as getting the supplies to make your own. And buying colored powder saves you the time making it (and the mess)!
If you need a really large quantity of powder for your gender reveal, you’re definitely better off just buying instead of DIYing. The cost of ingredients, the work involved, and the risk of large batches molding while air-drying or scorching while baking just isn’t worth the effort. If you have to do it twice, your savings on DIY in this situation are out the window.
Where to Buy Gender Reveal Powder
Before looking into making your own gender reveal powder, you may have gone looking in stores to see if you could grab some ready-to-go colored powder. As it turns out, it’s a lot harder to find than you’d think! Especially in quantities large enough to use in a gender reveal.
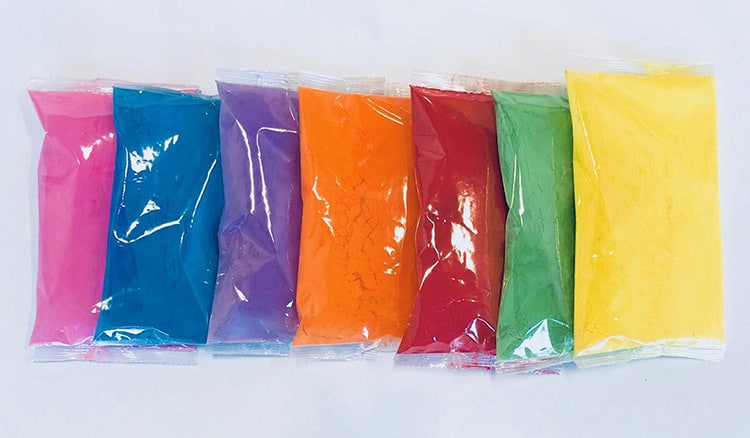
But you can get all kinds of colored powders on Amazon! There’s a combo pack of one pink and one blue if you’re doing the ordering but aren’t informed on the baby’s gender yet. You can also get huge 5-pound bulk bags of several different colors if you’re looking to stray from the usual blue and pink.
The cheapest place I’ve found to get pre-made gender reveal powder is from HoliPowder on Etsy. The listing is for a small bag, but the price is low enough that you can get several of them and the price is still quite low. They are vibrant and beautiful!
Quick-Drying DIY Gender Reveal Powder Recipe
DIY Gender Reveal Powder
Need to make colored powder for your gender reveal, and don't have days to wait for it to dry? No problem! Color your cornstarch and dry it back out in just a couple of hours with our tested and proven method for DIY gender reveal powder.
Materials
Instructions
- Preheat the oven to 170 degrees. In a metal or glass bowl, carefully add all of the cornstarch and one cup of water. With gloves on, combine the cornstarch and water with your hands (it should not become liquid or slime, but stay powdery and clumpy).
- Add the entire one-ounce container of icing coloring to the cornstarch mixture. Blend it thoroughly with your hands, rubbing clumps of cornstarch between your fingers to break them up and combine them with color.
- Spread the colored cornstarch evenly onto a large baking sheet. Break up any remaining clumps with your fingers (some white powder remaining is okay).
- Bake for about two hours, stirring the powder in the pan every 20 minutes to bring the damp powder to the top. If the powder still appears to be wet after two hours, continue to bake in 10-minute increments.
- Pour the dried cornstarch into a blender or food processor. Pulse for 30-60 seconds until the cornstarch has become a fine powder again. If the powder does not move or break up, it is probably still wet and needs to bake longer. If it does process but you need a finer powder, run it through a sifter as well.
- If not using right away, store the colored powder in a ziplock bag in the refrigerator indefinitely.
Notes
Do not consume colored cornstarch. Do not throw cornstarch in anyone's face. Do not inhale the dust cloud created by disturbed cornstarch.






Can you use this DIY powder in a motorcycle exhaust?
As long as your exhaust doesn’t shoot any type of sparks or flames, it should be fine! But I always recommend placing it in a bag under the tire to be burst instead, as it tends to produce a more impressive cloud of smoke.
What kind of bag would you use to conceal the color that will work for a burn out?
Hi Kylie! I’m not sure if you can find a small quantity of bags, but a resealable plastic black bag like this should do the trick (there are multiple sizes to choose from depending on your tire size, too!): https://amzn.to/3YEQDYV
They look identical to the ones a lot of the prepackaged color-reveal powders come in.
Thank you so much for this recipe it was super simple however I completely disagree with the 3:1 ratio I used maybe a third less of water. It’s always best to start with less water and add if needed. But thank you thank you it turned out so well
Hi Sarah! Thanks so much for your input! You are right – the less water to moisten the cornstarch, the better. Always add it a little at a time!