Planning a Sleeping Beauty birthday party? Want to have a truly enchanting event that your little Aurora will love? You’ve come to the right place! It’s a classic fairytale theme that guarantees magic, memories, and fun. My daughter went through a brief phase where Princess Aurora was her favorite Disney princess… solely because she loved the pink version of her famous dress, which is Lily’s favorite color. She has since declared Belle is her favorite princess, just like me.
We always have tons of friends and family at our kids’ birthday parties, and it can be tough not to spend too much money. But I design my own invitations, make my own food (including the cake!), and DIY a bunch of the decorations. Everything for this party was done while working full time and commuting an hour each way. To achieve this, I start the planning and DIY projects about two months in advance.
I often skimp on the gifts we give our kids as well… because having awesome parties is their big gift! So much stuff is given to them by family that they never even notice or remember what Mom and Dad did or didn’t give them. Now let me show you my daughter’s stunning Sleeping Beauty party details!
This post may contain affiliate links. If you make a purchase after clicking one, I may receive a small commission at no cost to you.
The Invitation
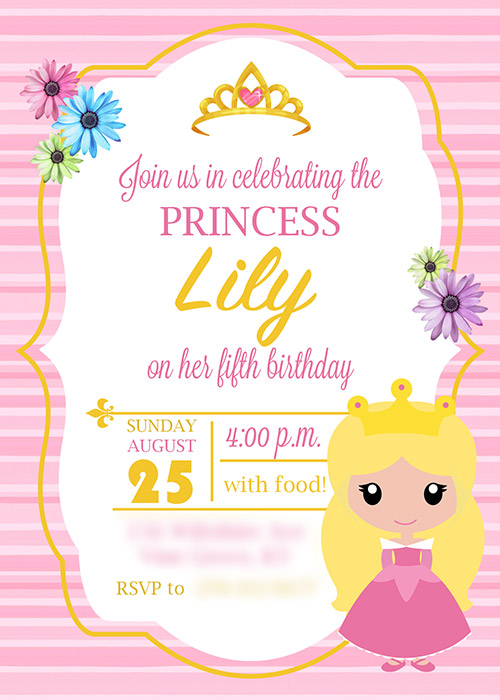
I’m Photoshop-savvy, so I designed this invitation myself. I searched the internet for the various elements (the striped background, flower, crown, and Aurora illustration). There is only one unique flower image used, I just duplicated it and altered the colors!
All of my printed invitations have come from Mpix. Their cardstock quality is excellent and they come with envelopes. For a little extra you can have your return address preprinted, too. They even let you upload a custom image for the reverse side! This is what I used for the Sleeping Beauty invitation.
Decorations & Ambience
I find it easier to decorate for a party in my own home than at a rented venue. There are no rules for what I can or can’t do, and I know the space I’m working with very well. Plus, I don’t have to haul all my stuff anywhere else!
Color scheme
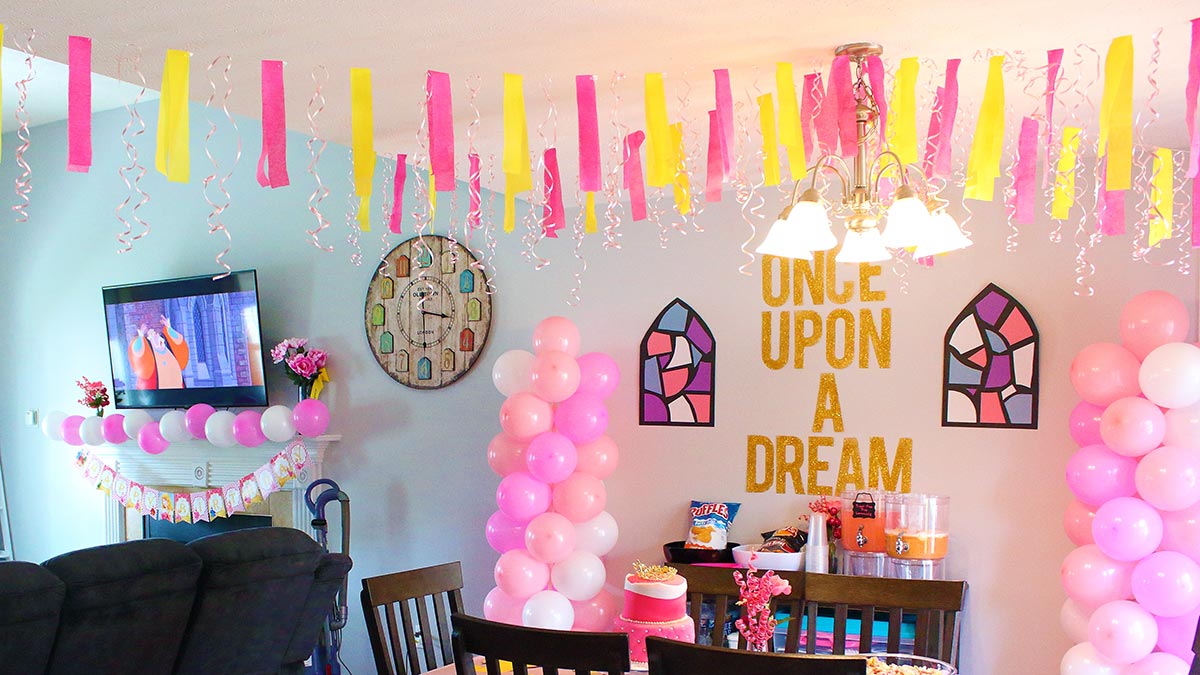
Pink was and is Lily’s favorite color, so I leaned into that for the party’s palette. I mixed various shades of pink with white, lavender, and purple. Since Lily wasn’t into Maleficent and I didn’t want a scary vibe at a little kids’ party, I didn’t use a lot of deep purple or black, although I could have and it would’ve worked well. Pops of yellow were included for contrast (and in honor of Aurora’s blonde hair).
Balloons & Balloon Columns
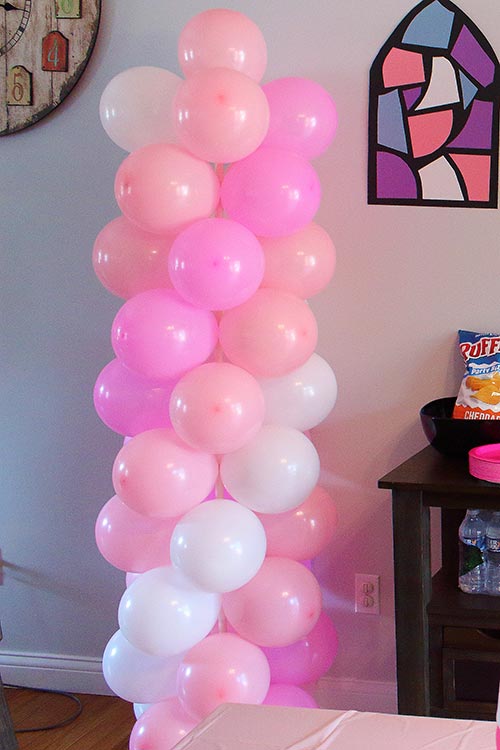
Balloons are one of the cheapest decorations that, when used properly, can make a huge aesthetic impact. I bought an affordable balloon column kit and have used it for many parties since. My local Walmart had balloons in white and two shades of pink, so that’s what I used, and I was very happy with how they came out!
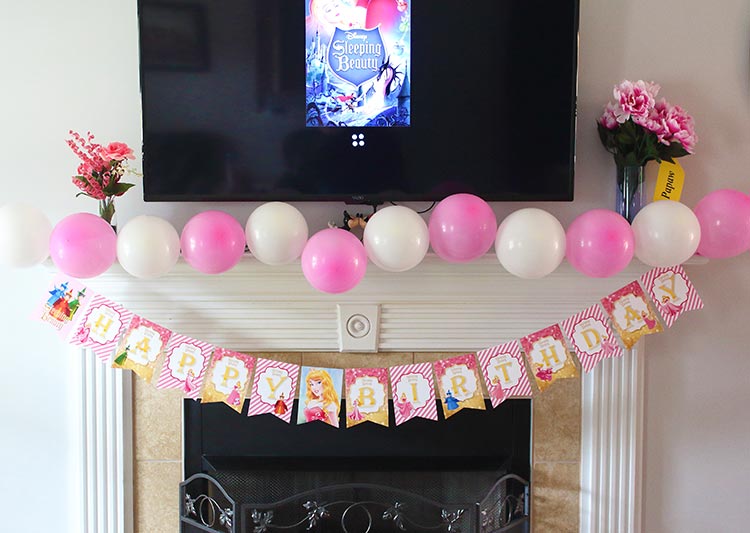
Balloons also formed a garland over our fireplace, but they weren’t strung together – I just taped the necks onto the mantle. And of course, we had lots of loose balloons floating around the floor for the kids to play with.
The Main Table
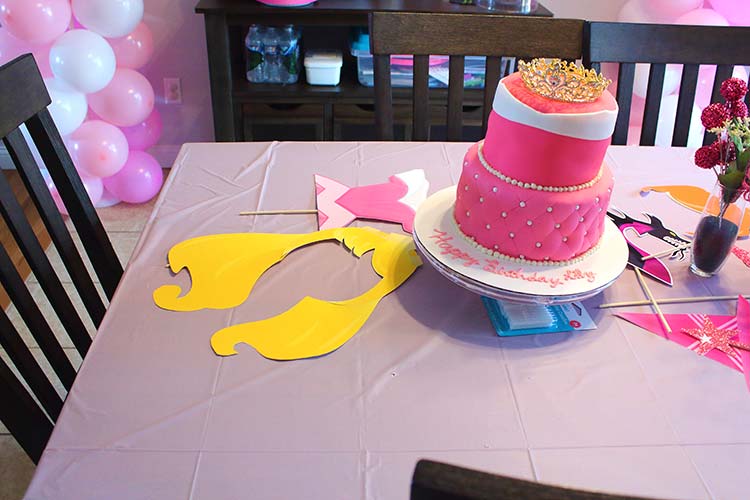
Most of the action happens around our kitchen table, so I try to put visually interesting things there. I covered it with a lavender plastic table cover. The cake, chex mix, and a small vase of faux pink flower decor sat across it.
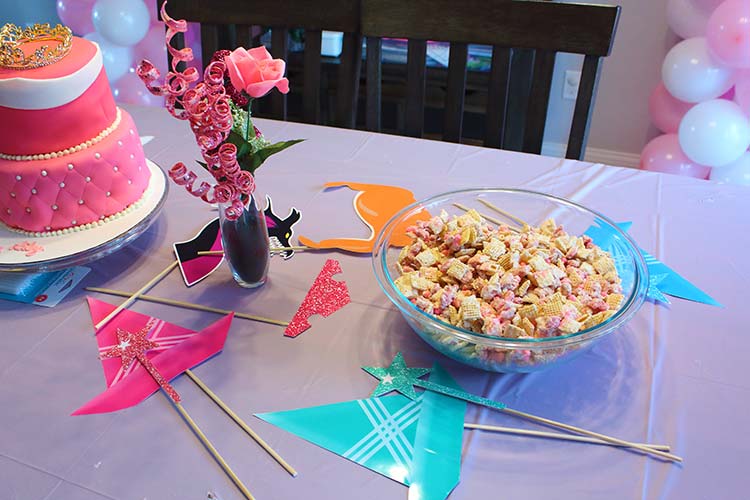
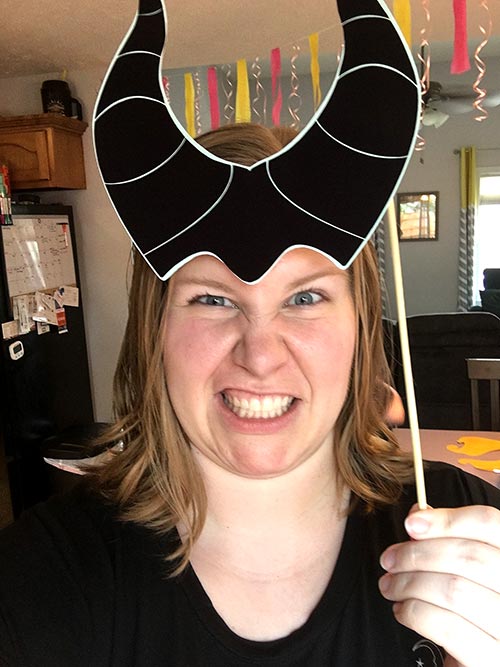
At the time, an Etsy seller offered printable Sleeping Beauty photo props (unfortunately they’re no longer there). They made cute table decorations and provided a fun way to kill time and take selfies! I printed them out on glossy photo paper and painstakingly cut out the shapes by hand, then taped dowels to the backs as handles. These days, I would use my Cricut to cut out the smaller and more detailed pieces.
DIY Backdrop
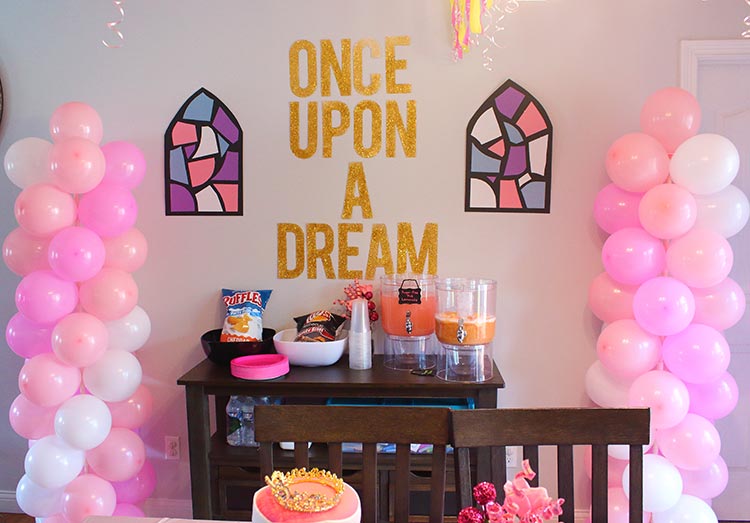
I flanked my kitchen server with the balloon columns, and made a simple – but, in my opinion, stunning – background to go over it. For the stained glass windows, I pieced together several sheets of black construction paper and freehandedly cut the curves at the top. I also cut out the various color pieces by hand. After playing around with their placement until I was satisfied, I glued them down.
Believe it or not, I also cut out the gold glitter letters for “Once Upon a Dream” by hand! It took a lot of effort since the Cricut I had at the time wasn’t big enough for what I wanted. First, I printed each letter 12 inches tall on legal-sized copy paper (that I “borrowed” from my desk job). I had to trim around the paper letters, trace around those cutouts onto gold glitter cardstock, and THEN cut the letters out of the cardstock.
Have I mentioned how much I love, love, LOVE my Cricut Maker 3? If I’d had it back then, I would’ve just cut the letters out of the glitter cardstock from the get-go. Easy peasy.
DIY Ceiling Garland
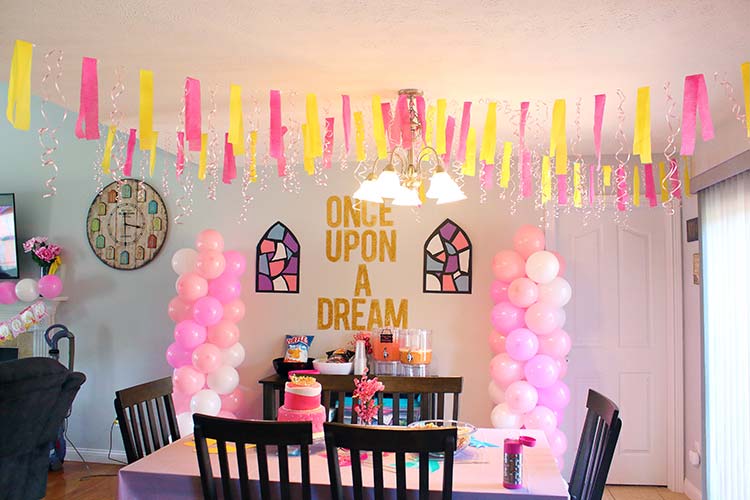
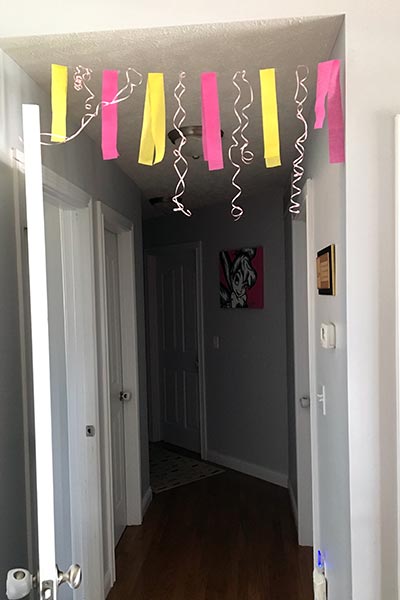
My go-to ceiling decor is often twisted paper streamers in a circular pattern extending from the chandelier base. But I wanted to do something different for this one. I measured out four lengths of fishing line and alternated tying on curled pale pink ribbon, pink streamer strips, and yellow streamer strips. The vibe is more whimsical than solid paper streamers! Some of the doorways also had short strings of garland hanging over them.
Printable Birthday Banner
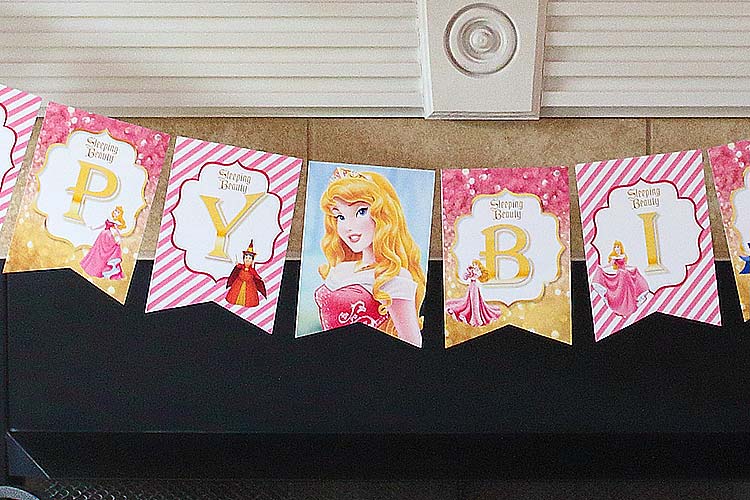
This printable banner was another Etsy find that no longer exists. Others are listed, though, and this one is editable and printable so you can include your child’s name! I printed the banner flags on glossy photo paper before cutting them out by hand. Using a sewing needle, I poked tiny holes in the top corner of each one and threaded fishing line through them to hold it all together. It almost looked like it was floating in the air!
Lily’s Pink Aurora Dress
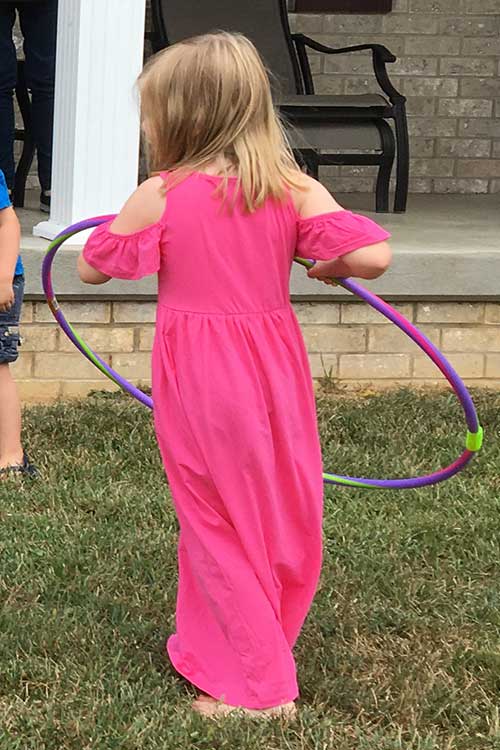
Since Aurora’s dress is off-the-shoulder, I went with a “cold shoulder” look for Lily (it has straps to keep it where it should be, but shows her shoulders). I chose a maxi length to stay as close to Aurora’s style as possible, but a shorter one would be just as cute. Amazon doesn’t have her dress available anymore, but I love this knee-length version.
Themed Finger Foods & Drinks
When I was planning this party, my full-time job consumed too much of my life. As a result, I didn’t spend as much time as usual creating puns for my party food. I managed to sneak in a few themed nods, though. Here is everything we served our guests!
Crockpot BBQ Meatballs
A party classic and a crowd-pleaser.
Spinning Wheel Pinwheels
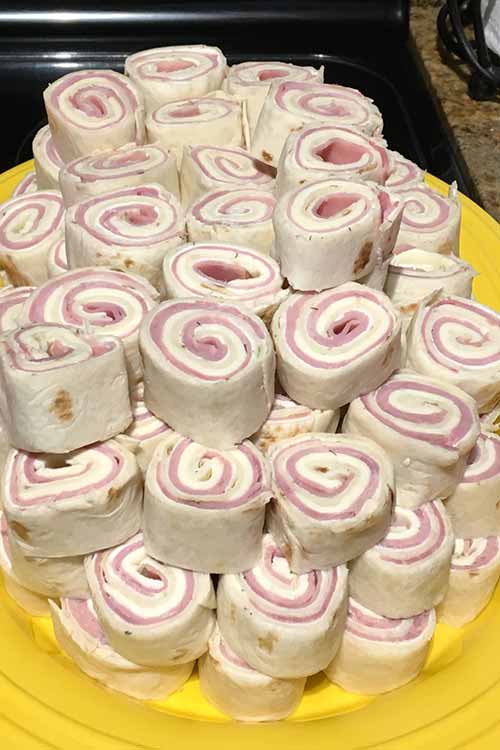
Delicious and adorable, we spread cream cheese over flour tortillas, covered them in sliced ham, rolled them up, and sliced them into bite-size wheels. They’re quick to make and the kids gobbled them up.
Fruit Wands
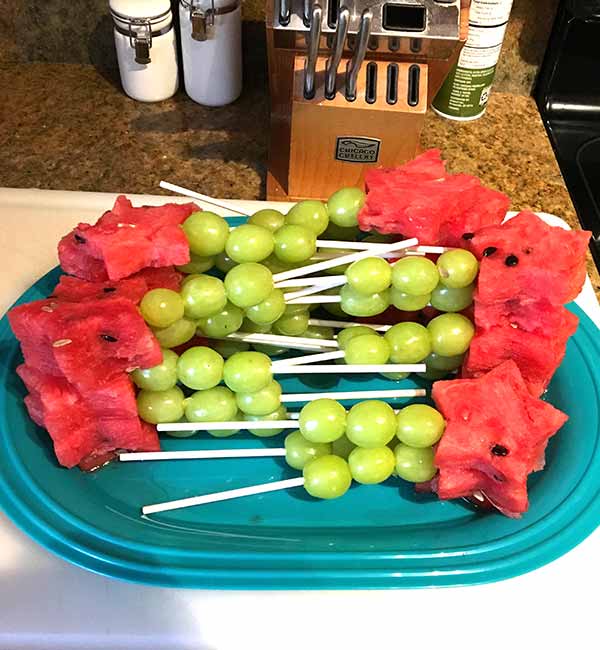
It’s not a Disney theme without a little magic! We turned our fruit skewers into fairy wands with a few grapes lined up and topped with a star-shaped chunk of watermelon.
Princess Chex Mix
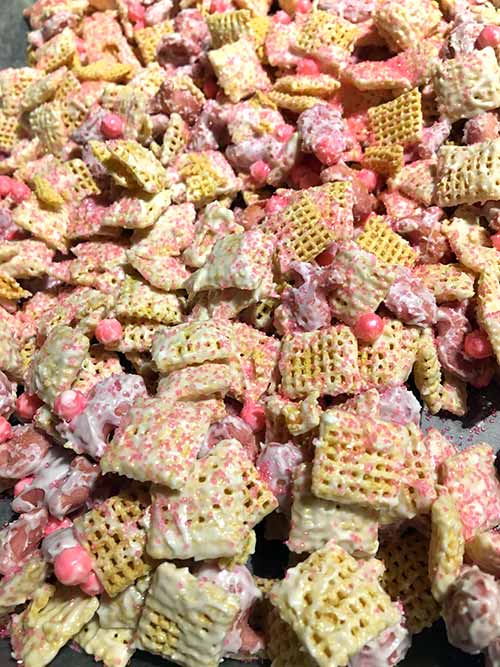
It’s years later and I still crave this specific Chex mix! Just pour a box of Chex cereal into a large mixing bowl, drizzle it in melted white chocolate (as much or as little as you want), spread it out on a wax paper-lined baking sheet, and immediately sprinkle it with pink sugar sprinkles and pink sixlet candies before giving it a stir.
Chips
I lost steam at this point. Bowls of Ruffles and Lays were put out.
Pink Lemonade
This is the most princess-y summer party drink to ever exist. No fancy punch needed! That said, I did (try to) make a fancy punch…
Princess Punch
The color of this punch did not come out quite like I’d hoped – it was more mauve than pink. But it was yummy, and the color nearly matched the table cover in the kitchen. This is everything I mixed together:
- 1.5 quarts of pineapple juice
- 12-ounce cans of frozen pink lemonade
- 1 quart of strawberry sherbet
- 3 liters of ginger ale
Fun Front Yard Party Game
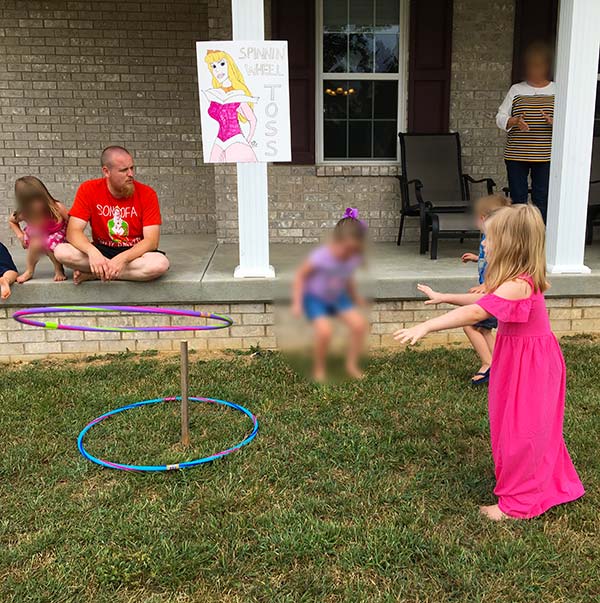
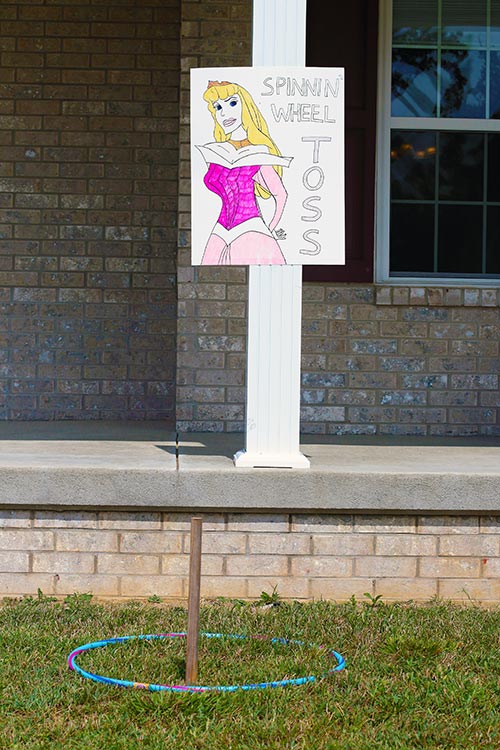
All the kids attending the party were pretty small, and inside the house was too crowded for a game like pin the tail on the donkey. So I drew up a poster of Princess Aurora that said “Spinnin’ Wheel Toss” and taped it to the front porch. My husband drove a tall stake into the ground, and we bought some hula hoops. The kids took turns trying to ring the hoops around the stake. Considering the hula hoops were bigger than most of them, they did a great job!
And yeah… it’s really hard for me to try and copy a small picture I’m eyeballing onto a large format like a poster. So Aurora looked more like a drag queen. Oh well! I’ve gotten better at such things.
DIY Sleeping Beauty Dress Cake
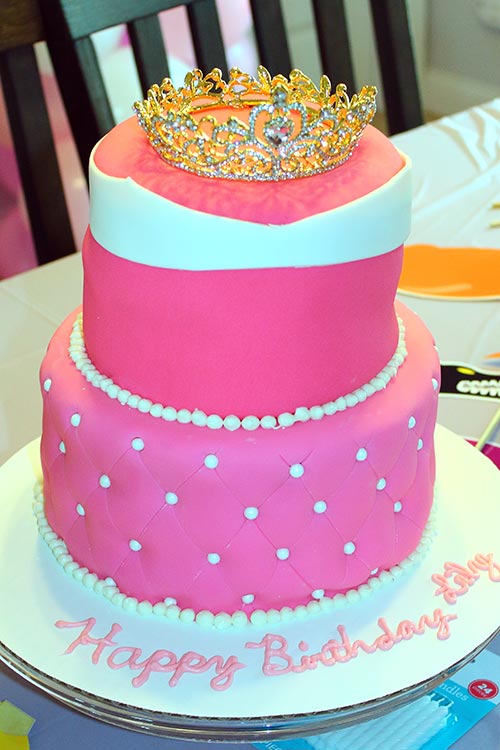
I make my own cakes, so while I let the kids choose their designs, I only show them cakes that look relatively easy for me to make! This one was, indeed, pretty easy. Each tier was three layers of cake and wrapped in the same color of pink fondant. For the “top” of the dress, I just cut out a long strip of white fondant with a wide V in the center to mimic Princess Aurora’s off-the-shoulder white neckline.
I pressed a diamond-grid fondant embosser around the bottom layer, then went back over it with a sharp fondant tool to make the pattern more prominent. At each intersection, I pressed in a white pearl candy. There weren’t enough sixlets left for me to wrap them around the bottom of both layers, so I piped my leftover white buttercream (that I used to frost the cake before applying the fondant) to resemble the pearls instead!
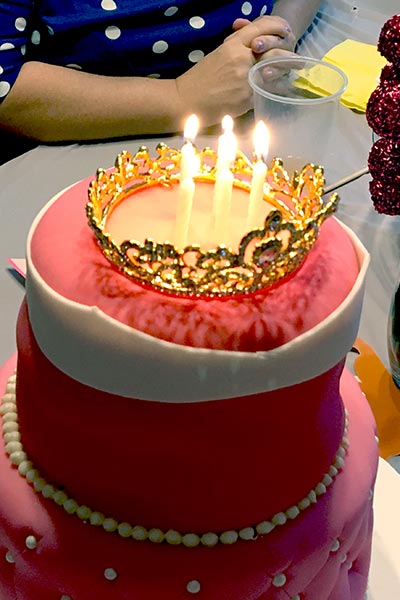
For the finishing touch, I placed this pretty (and rather heavy) gold princess crown on top. My daughter kept it for playing dress-up after the party. As for the candles, we just stuck them inside the crown’s perimeter! Lily’s crown is no longer available, but make sure you get a solid circle gold crown, NOT one with comb teeth.
Party Favors (For Boys AND Girls)
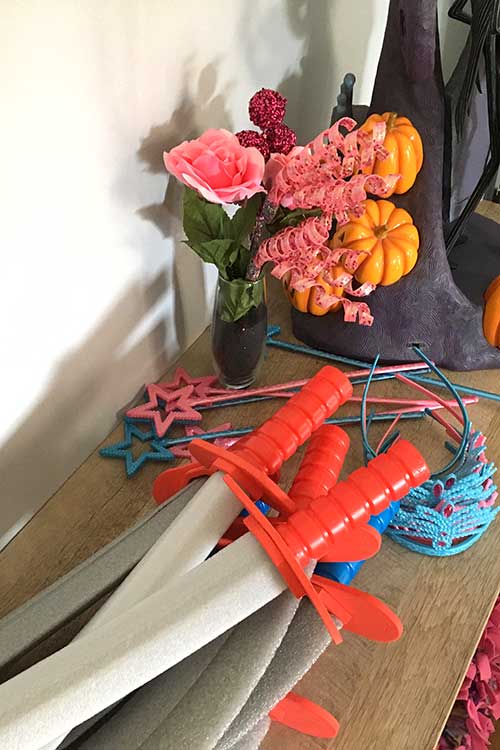
We usually have a very even number of boys and girls at our birthday parties, so I knew princess crowns wouldn’t go over well with all of them. I put out pink and blue plastic crowns with matching fairy wands and, as expected, only the girls chose to take those. Dollar Tree has updated their designs, but they still carry crowns.
The foam swords, however, were a big hit with ALL the kids! Fortunately, I’d bought enough for everyone to have one.
That’s it! I hope my daughter’s 5th birthday party has inspired you to plan a Sleeping Beauty birthday party for your child.
You Might Like to Read…
- Toy Rotation – a great practice when you have too many toys.
- Beauty and the Beast Birthday Party – For a party featuring multiple Disney princesses, this post has tons of ideas for Belle!
- Frozen Birthday Party – Don’t forget Elsa and Anna in your princess list!

